Ingredients
Equipment
Method
- Place a medium saucepan on medium-low heat. Add ¼ cup of bacon grease and let it warm up gently. The grease should be melted and shimmering but not smoking. This temperature control is crucial for preventing the flour from burning in the next step.
- Slowly add ¼ cup of all-purpose flour, about a tablespoon at a time, while whisking continuously. This gradual incorporation helps the flour blend smoothly with the grease without forming clumps. Keep whisking until the mixture forms a smooth, golden paste called a roux. This should take about 1-2 minutes.
- While whisking vigorously, slowly pour in 2 cups of whole milk in a steady stream. Room temperature milk incorporates more easily and reduces the risk of lumps. Pour gradually-rushing this step is the most common mistake when making gravy. Continue whisking as you pour to ensure a silky-smooth consistency.
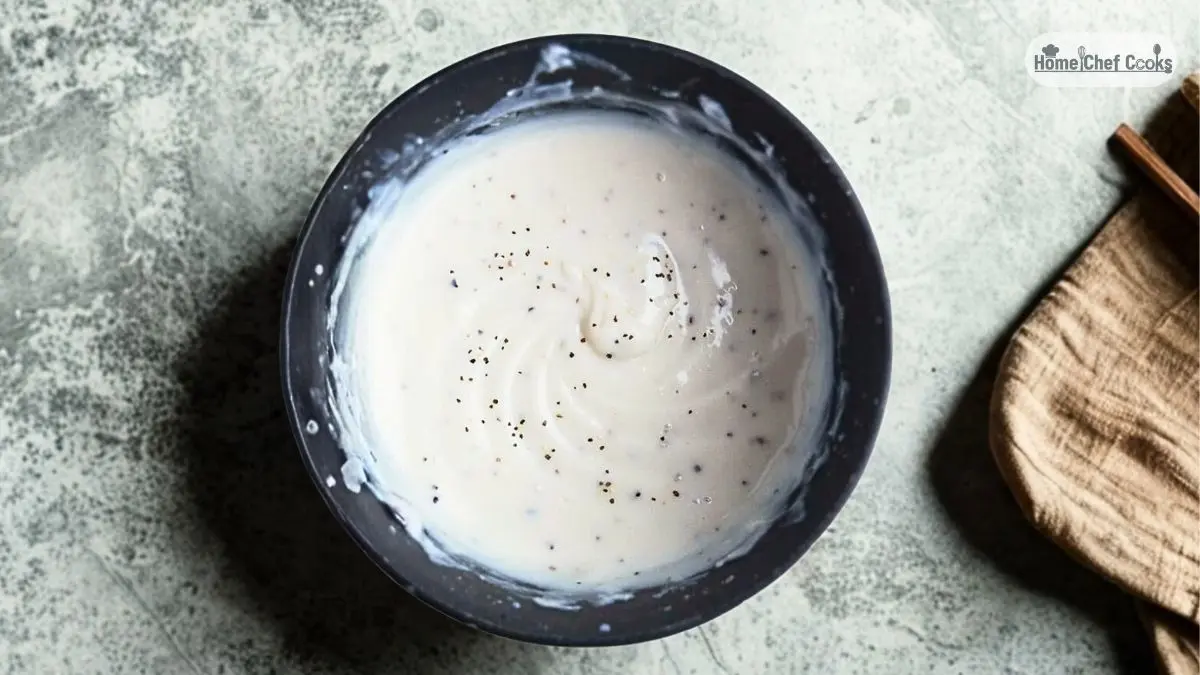
- Add ½ teaspoon of salt and ½ teaspoon of black pepper to the mixture. Whisk thoroughly to distribute the seasonings evenly throughout the gravy. The pepper should be visible throughout, giving that signature speckled appearance that Dairy Queen gravy is known for.
- Maintain medium heat and continue whisking every few seconds to prevent sticking or burning on the bottom. In approximately 5 minutes, the gravy will begin to thicken noticeably. Watch for the consistency to change-you want it to reach the point just before it starts to simmer with small bubbles forming around the edges. If large bubbles appear or it begins to boil, reduce the heat immediately to prevent scorching.
- Remove the saucepan from heat. The gravy will continue to thicken as it cools slightly due to the starch in the flour. If your DQ gravy becomes too thick for your preference, simply stir in milk one tablespoon at a time until you reach your desired consistency.
Video
Notes
Store leftover Dairy Queen gravy in an airtight container in the refrigerator for up to 3-4 days. Reheat gently in a saucepan over low heat, whisking frequently and adding milk by the tablespoon to restore the creamy consistency. Microwave reheating works too-use 30-second intervals, stirring between each, until warmed through.