Let’s be real for a second. Some days, you just need a dessert. Not a five-layer, Swiss-merengue-buttercream, bake-for-three-hours kind of dessert. You need something that hits the sweet spot now, with minimal cleanup and zero chance of a kitchen meltdown. You know the feeling, right? That “I deserve a treat but I absolutely do not deserve the drama” feeling.
Well, friend, you’ve come to the right place. I’ve been there more times than I can count—staring into the pantry at 9 PM, armed with a serious craving and a serious lack of patience. That’s why I’ve curated this ultimate list of 10 yummy simple dessert recipes designed for stress-free baking. We’re talking minimal ingredients, max flavor, and instructions so easy you could probably do them half-asleep. So, grab your favorite mixing bowl, and let’s get into some deliciously simple trouble.
Why Embrace the Simple Dessert Life?
Before we dive into the goodies, let’s talk why simple is often superior. First, it’s accessible. You don’t need a pantry stocked with obscure flours or a gadget that only does one thing. Second, it’s fast. Most of these can go from craving to consumption in under 30 minutes. And finally, it’s confidence-building. Nailing a simple recipe gives you that little victory dance moment, which, IMO, is the best ingredient of all. Ready to earn your apron stripes? Let’s bake!
1. 3-Ingredient No-Bake Chocolate Biscuit Bars
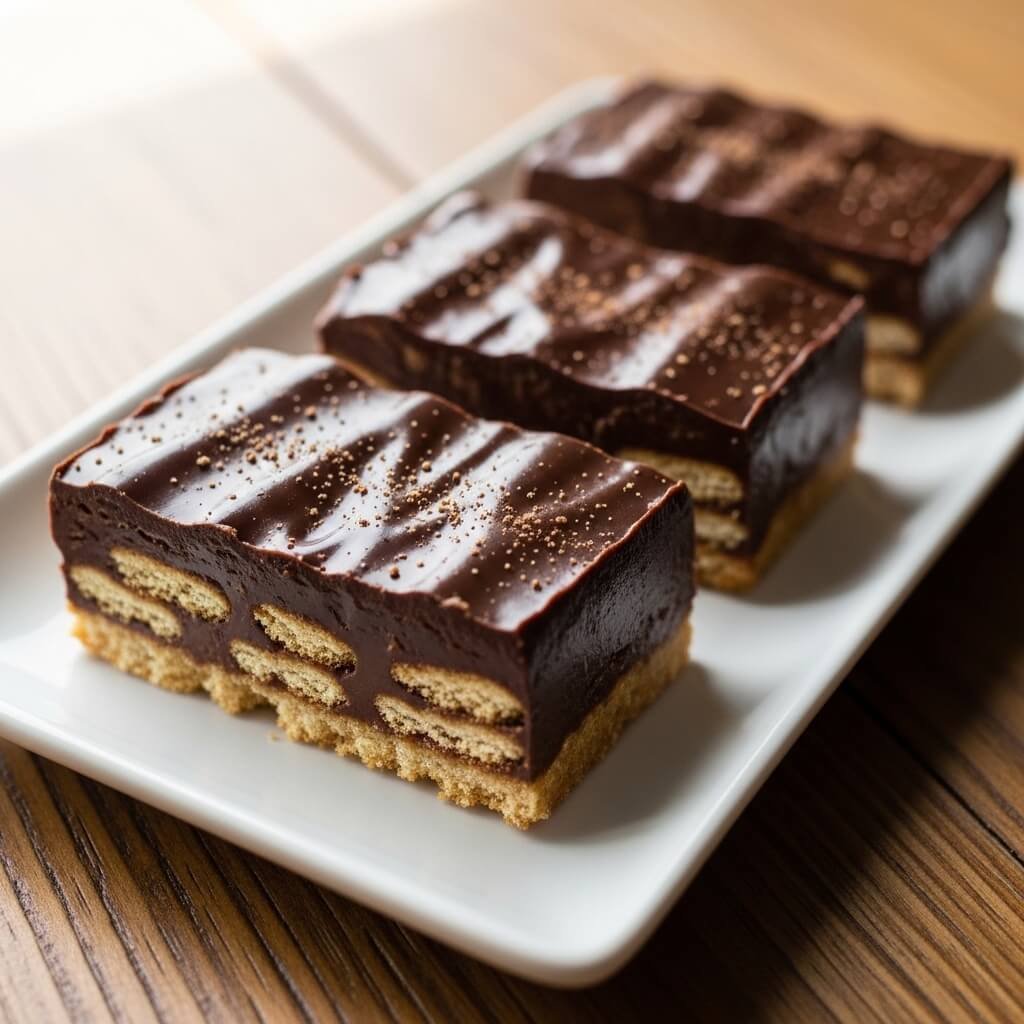
Crunchy, chocolatey, and impossibly easy. These are basically the adult (and way more delicious) version of the treats you begged for as a kid.
- Prep Time: 10 minutes
- Cook Time: 0 minutes (plus 1 hour chill time)
- Ingredients:
- 200g (about 2 cups) digestive biscuits or graham crackers
- 150g (⅔ cup) unsalted butter
- 200g (1 cup) good-quality dark or milk chocolate chips
- Equipment: 8×8 inch baking pan, parchment paper, medium saucepan, zip-top bag or food processor, rolling pin.
- Instructions:
- Line your pan with parchment paper, leaving some overhang for easy lifting later.
- Crush the biscuits into fine crumbs. I throw them in a bag and go to town with a rolling pin—it’s great stress relief! 😉
- Melt the butter in a saucepan over low heat. Remove from heat and stir in the biscuit crumbs until well combined.
- Press the mixture firmly and evenly into the bottom of your prepared pan.
- Melt the chocolate chips (in 30-second bursts in the microwave or over a double boiler) and pour over the biscuit base, spreading evenly.
- Chill in the fridge for at least one hour until set. Slice into bars and try not to eat them all at once.
- Notes: For a fancy twist, sprinkle sea salt, crushed nuts, or sprinkles over the melted chocolate before it sets. The butter is the glue here, so don’t skimp!
2. 10-Minute Mug Brownie

The ultimate single-serving solution for a chocolate emergency. Ready in literally the time it takes to preheat a regular oven.
- Prep Time: 3 minutes
- Cook Time: 1-2 minutes
- Ingredients:
- 3 tbsp all-purpose flour
- 3 tbsp granulated sugar
- 2 tbsp unsweetened cocoa powder
- Pinch of salt
- 2 tbsp vegetable oil or melted butter
- 1 tbsp water or milk
- Optional: handful of chocolate chips, a spoonful of peanut butter.
- Equipment: One microwave-safe mug (at least 12 oz capacity), fork, teaspoon.
- Instructions:
- In your mug, whisk together the dry ingredients (flour, sugar, cocoa, salt) with a fork until no lumps remain.
- Add the oil and water/milk. Stir until you have a smooth, thick batter. Drop in any extras like chocolate chips.
- Microwave on high for 60-90 seconds. The top should look set but the center will be slightly gooey—that’s the good stuff.
- Let it cool for a minute (that molten chocolate is like lava, be warned) and dig in straight from the mug.
- Notes: Every microwave is different. Start with 60 seconds and add 10-second bursts if needed. Overcooking turns it into a rubber puck, and nobody wants that. :/
3. Easy Strawberry Cream Parfait Cups
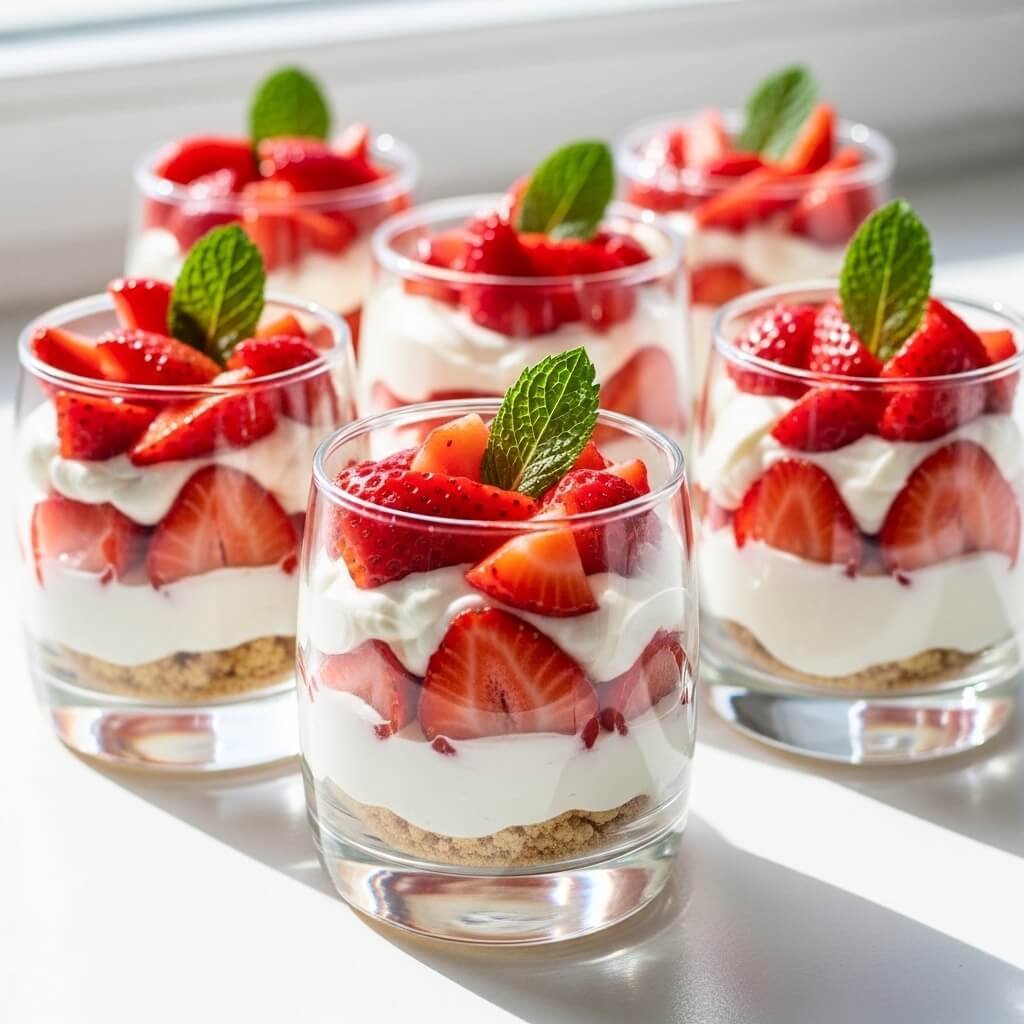
Light, fresh, and looks way fancier than the effort required. Perfect for when you want to impress with minimal stress.
- Prep Time: 15 minutes
- Cook Time: 0 minutes
- Ingredients:
- 1 cup heavy whipping cream
- 2 tbsp powdered sugar
- 1 tsp vanilla extract
- 1 cup fresh strawberries, diced
- 1 cup shortbread cookies or ladyfingers, roughly crushed
- Equipment: Mixing bowl, electric hand mixer or whisk, serving glasses or small jars.
- Instructions:
- In a chilled bowl, whip the heavy cream, powdered sugar, and vanilla with an electric mixer until stiff peaks form. (This means when you lift the beaters, the cream holds its shape.)
- Get your glasses. Start with a layer of crushed cookies at the bottom.
- Add a generous layer of whipped cream, then a layer of diced strawberries.
- Repeat the layers until you reach the top, finishing with a dollop of cream and a pretty strawberry slice.
- Serve immediately for maximum crunch, or chill for up to 2 hours.
- Notes: Don’t over-whip the cream or you’ll end up with sweet butter (ask me how I know). For a healthier twist, swap the cream for thick Greek yogurt.
Also Read: 10 Tasty Mexican Dessert Recipes Ideas Flavor Explosion
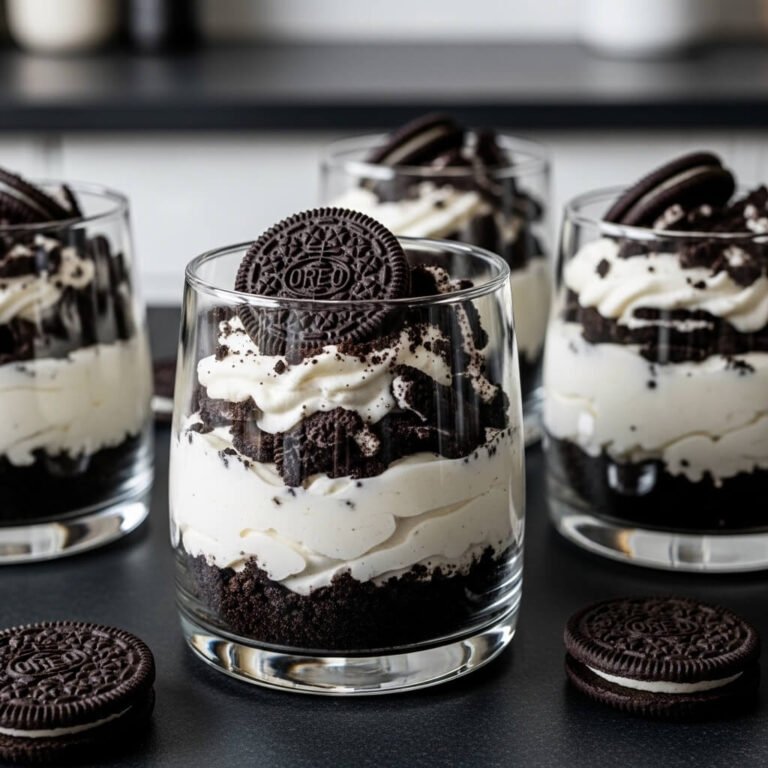
4. Quick Oreo Cheesecake Cups
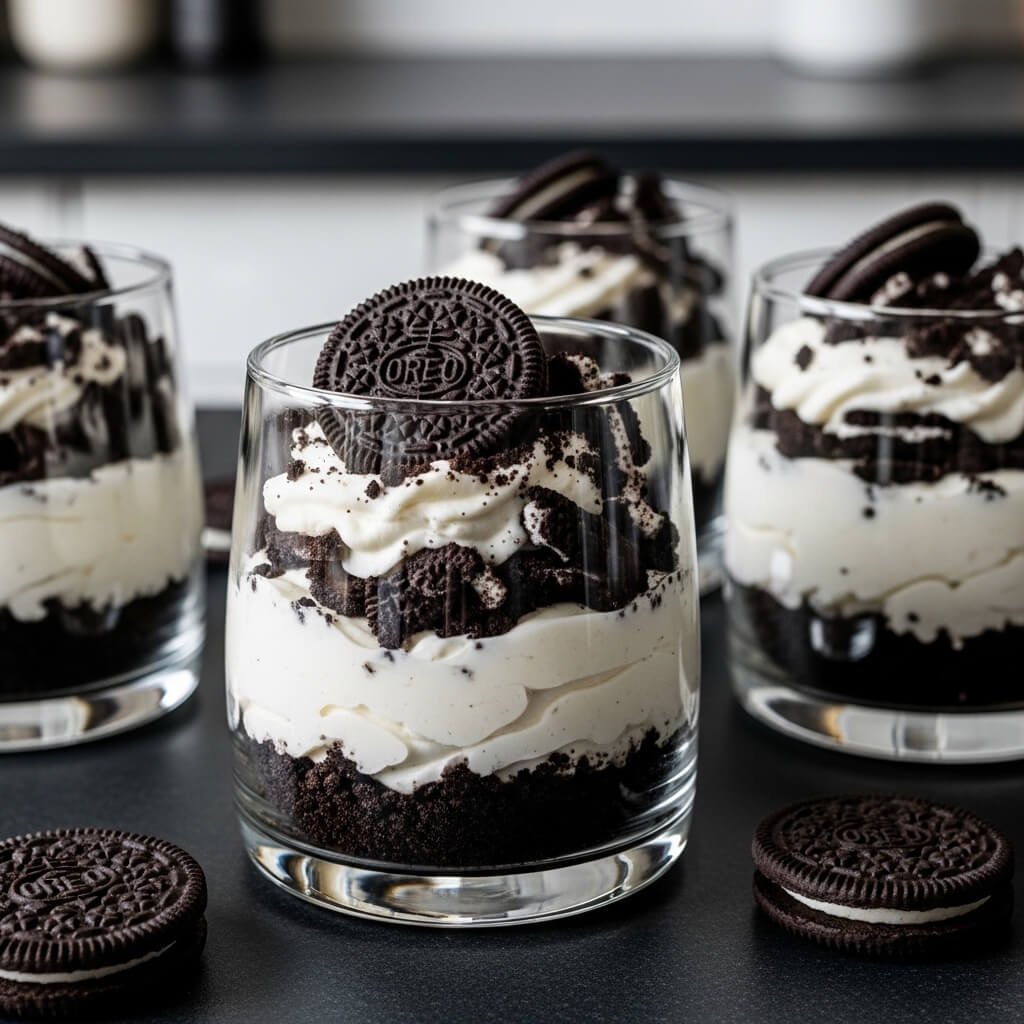
All the rich, creamy decadence of cheesecake without the water bath, cracking, or 8-hour chill time. You’re welcome.
- Prep Time: 10 minutes
- Cook Time: 0 minutes (plus 1 hour chill time)
- Ingredients:
- 8 oz (1 block) cream cheese, softened
- ½ cup powdered sugar
- 1 tsp vanilla extract
- 1 cup heavy whipping cream
- 8 Oreo cookies, plus more for garnish
- Equipment: Mixing bowls, electric mixer, muffin tin, cupcake liners, spatula.
- Instructions:
- Line a muffin tin with 6 cupcake liners. Place one whole Oreo cookie in the bottom of each.
- In a bowl, beat the softened cream cheese, powdered sugar, and vanilla until smooth and creamy.
- In a separate bowl, whip the heavy cream to stiff peaks.
- Gently fold the whipped cream into the cream cheese mixture until fully combined and fluffy.
- Roughly chop the remaining Oreos and fold them in.
- Divide the mixture among the lined muffin cups. Sprinkle extra crushed Oreos on top.
- Freeze for at least 1-2 hours or refrigerate for 3-4 hours until firm.
- Notes: Let them sit at room temp for 5-10 minutes before eating if frozen solid. Softened cream cheese is non-negotiable for a lump-free filling.
5. No-Bake Coconut Ladoo Bites
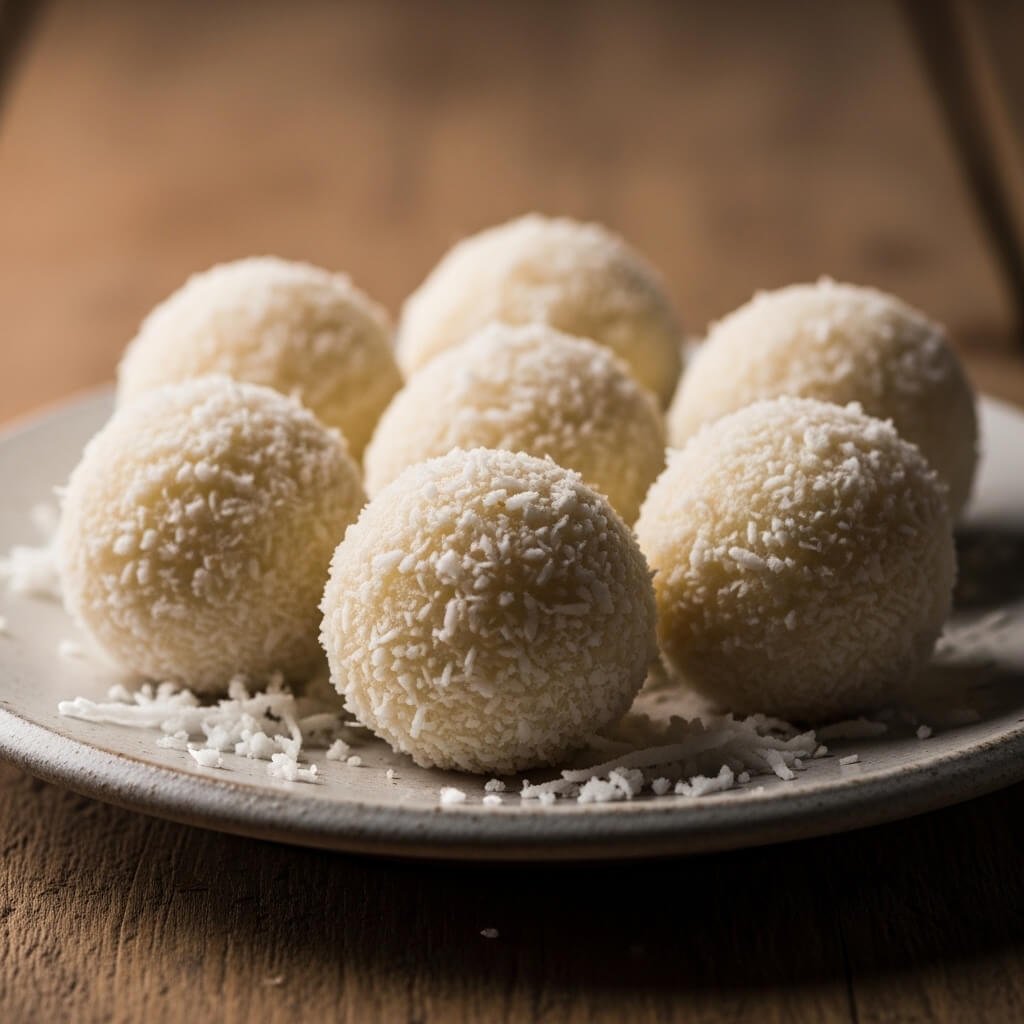
A classic Indian sweet made ridiculously simple. These little energy balls are chewy, fragrant, and totally addictive.
- Prep Time: 15 minutes
- Cook Time: 5 minutes
- Ingredients:
- 2 cups desiccated coconut, plus extra for rolling
- 1 cup sweetened condensed milk
- 1 tbsp ghee (clarified butter) or regular butter
- ¼ tsp cardamom powder
- A pinch of saffron strands soaked in 1 tbsp warm milk (optional but amazing)
- Equipment: Non-stick pan, spatula, plate.
- Instructions:
- Heat the ghee in a pan over low heat. Add the desiccated coconut and toast it gently for 2-3 minutes until it’s just fragrant and very lightly golden.
- Pour in the condensed milk and cardamom powder (and the saffron milk, if using). Stir continuously for 2-3 minutes. The mixture will thicken and start to pull away from the sides of the pan.
- Remove from heat and let it cool just enough to handle.
- Grease your palms with a little ghee. Take small portions of the mixture and roll into smooth balls.
- Roll each ball in extra desiccated coconut to coat. Let them set on a plate for about 30 minutes.
- Notes: If the mixture feels too sticky to roll, pop it in the fridge for 15 minutes. For a nuttier version, press a slivered almond or cashew into the center before rolling.
6. Simple Banana Ice Cream (Nice Cream)
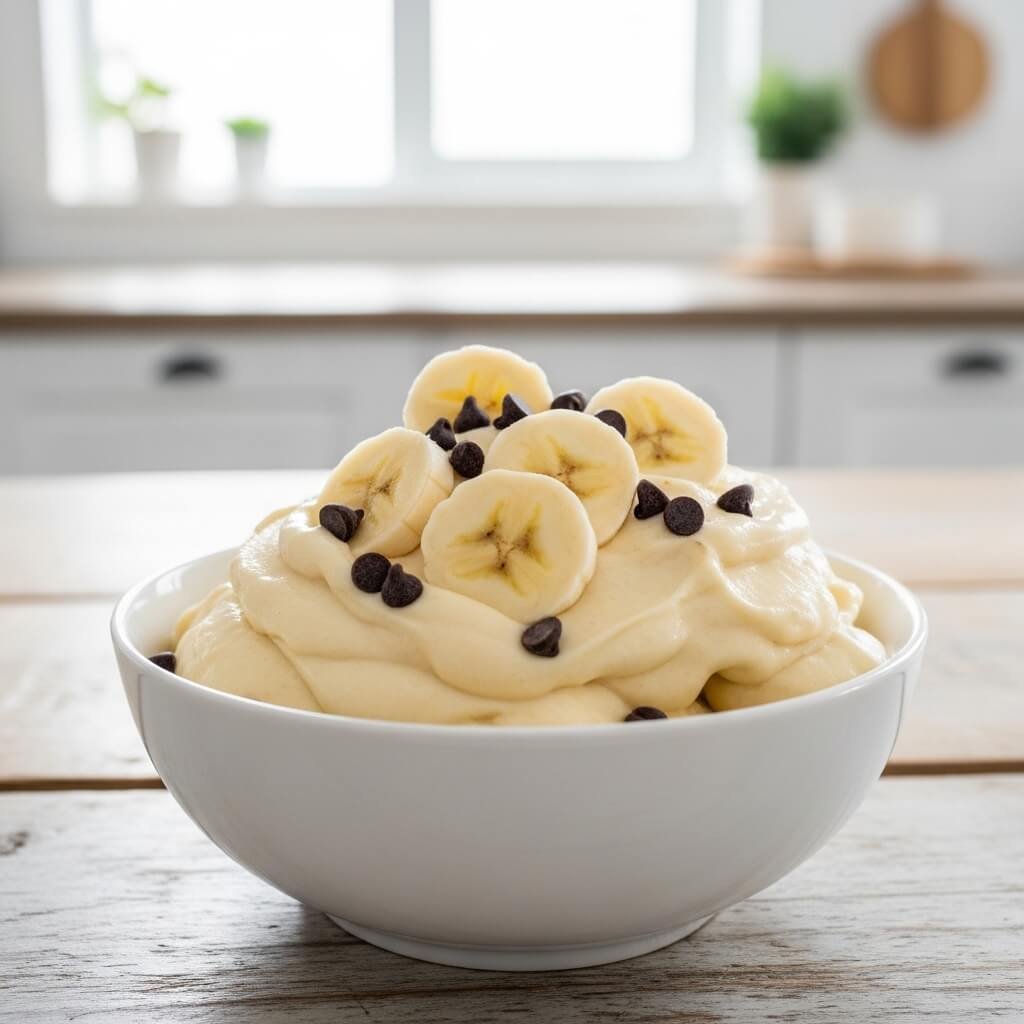
The magical, one-ingredient wonder that blew my mind. It’s creamy, sweet, and actually healthy. What is this sorcery?
- Prep Time: 5 minutes (plus freezing time)
- Cook Time: 0 minutes
- Ingredients:
- 3-4 ripe bananas, peeled, sliced, and frozen
- Optional add-ins: 1 tbsp cocoa powder, 2 tbsp peanut butter, splash of vanilla, handful of berries.
- Equipment: Food processor or high-powered blender, spatula.
- Instructions:
- Make sure your banana slices are frozen solid (I freeze them on a tray first, then bag them).
- Toss the frozen banana slices into your food processor.
- Blend. It’ll look crumbly at first, then pasty, then suddenly—BAM—it turns into a thick, creamy soft-serve consistency. Scrape down the sides as needed.
- Add any mix-ins and pulse a few times to combine.
- Eat immediately as soft-serve, or transfer to a container and freeze for 1-2 hours for a firmer, scoopable texture.
- Notes: The riper the bananas you freeze, the sweeter your nice cream. A food processor works infinitely better than a blender for this. If your blender struggles, let the bananas thaw for 5 minutes first.
Also Read: 10 Creamy Keto Dessert Recipes Perfect For Beginners
7. 5-Minute Peanut Butter Chocolate Balls

Salty, sweet, crunchy, chewy. These are the ultimate no-bake power balls that satisfy every craving at once.
- Prep Time: 10 minutes
- Cook Time: 0 minutes
- Ingredients:
- 1 cup creamy peanut butter
- ¼ cup honey or maple syrup
- 1 tsp vanilla extract
- 1 ½ cups old-fashioned oats
- ½ cup chocolate chips
- Optional: ¼ cup ground flaxseed or chopped nuts for extra texture.
- Equipment: Large mixing bowl, spoon, baking sheet lined with parchment.
- Instructions:
- In the large bowl, mix the peanut butter, honey, and vanilla until smooth.
- Stir in the oats, chocolate chips, and any optional extras until everything is well combined. The “dough” will be thick and sticky.
- Using slightly damp hands (this prevents sticking), roll the mixture into 1-inch balls and place on the prepared baking sheet.
- Refrigerate for at least 30 minutes to firm up. Store in an airtight container in the fridge.
- Notes: If the mixture is too dry, add a teaspoon more peanut butter or honey. If it’s too wet, add a few more oats. These freeze beautifully for up to a month!
8. Easy Vanilla Custard Dessert Cups
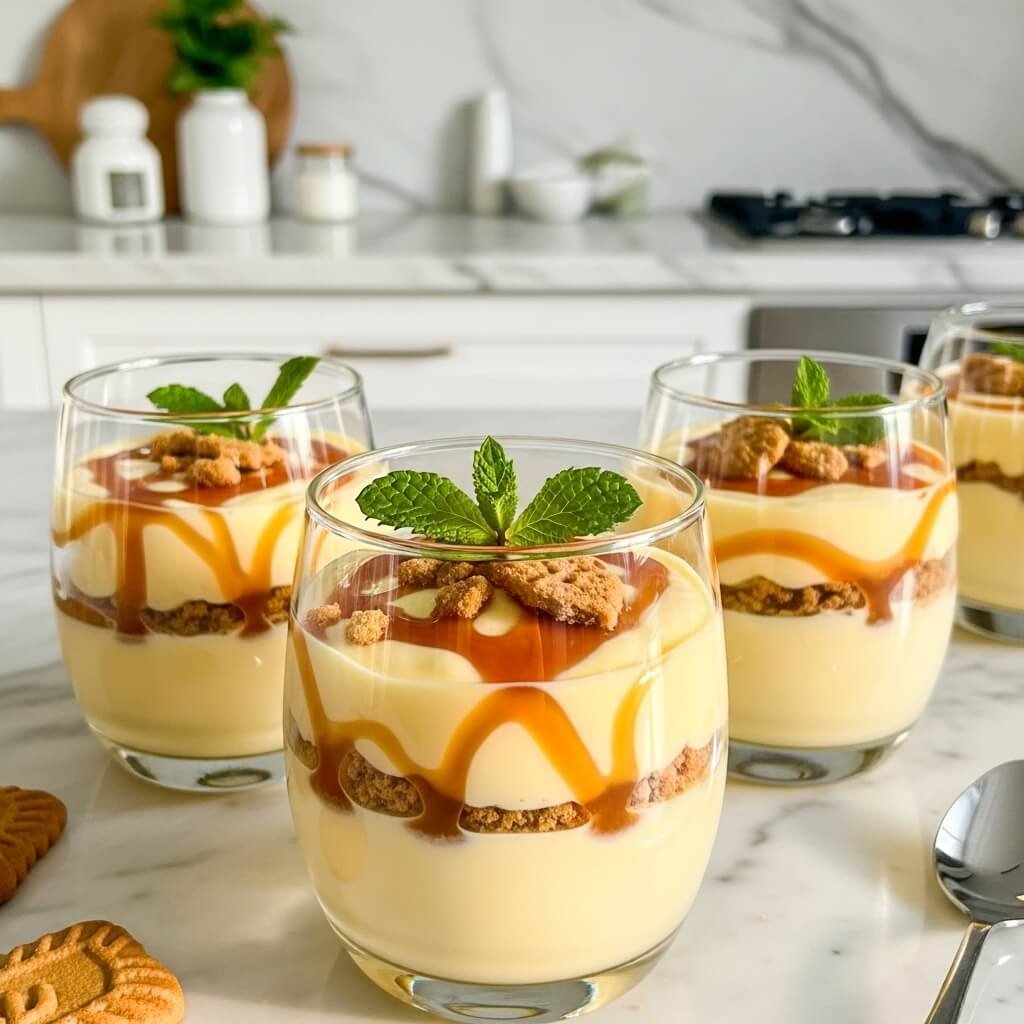
Silky, smooth, and classic. This is comfort in a cup, and it’s so much simpler than you think.
- Prep Time: 5 minutes
- Cook Time: 10 minutes (plus 2 hours chill time)
- Ingredients:
- 2 cups whole milk
- ¼ cup granulated sugar
- 3 tbsp cornstarch
- Pinch of salt
- 4 large egg yolks
- 2 tsp vanilla extract
- 1 tbsp unsalted butter
- Equipment: Medium saucepan, whisk, fine-mesh sieve, serving cups or ramekins.
- Instructions:
- In the saucepan, whisk together the sugar, cornstarch, and salt.
- Gradually whisk in the milk until smooth. Cook over medium heat, whisking constantly, until the mixture begins to thicken and bubble.
- In a small bowl, lightly beat the egg yolks. Temper the eggs by slowly whisking about ½ cup of the hot milk mixture into the yolks. Then, pour the egg mixture back into the saucepan.
- Cook for another 2 minutes, still whisking constantly, until thick and pudding-like.
- Remove from heat and whisk in the vanilla and butter until melted and smooth.
- Pour the custard through the sieve into your cups to catch any lumps. Press plastic wrap directly onto the surface to prevent a skin from forming.
- Chill for at least 2 hours. Serve with a sprinkle of cinnamon or fresh fruit.
- Notes: Constant whisking is the key to a lump-free, non-scrambled custard. The sieve step is optional but guarantees silkiness.
9. Quick Apple Cinnamon Dessert Skillet
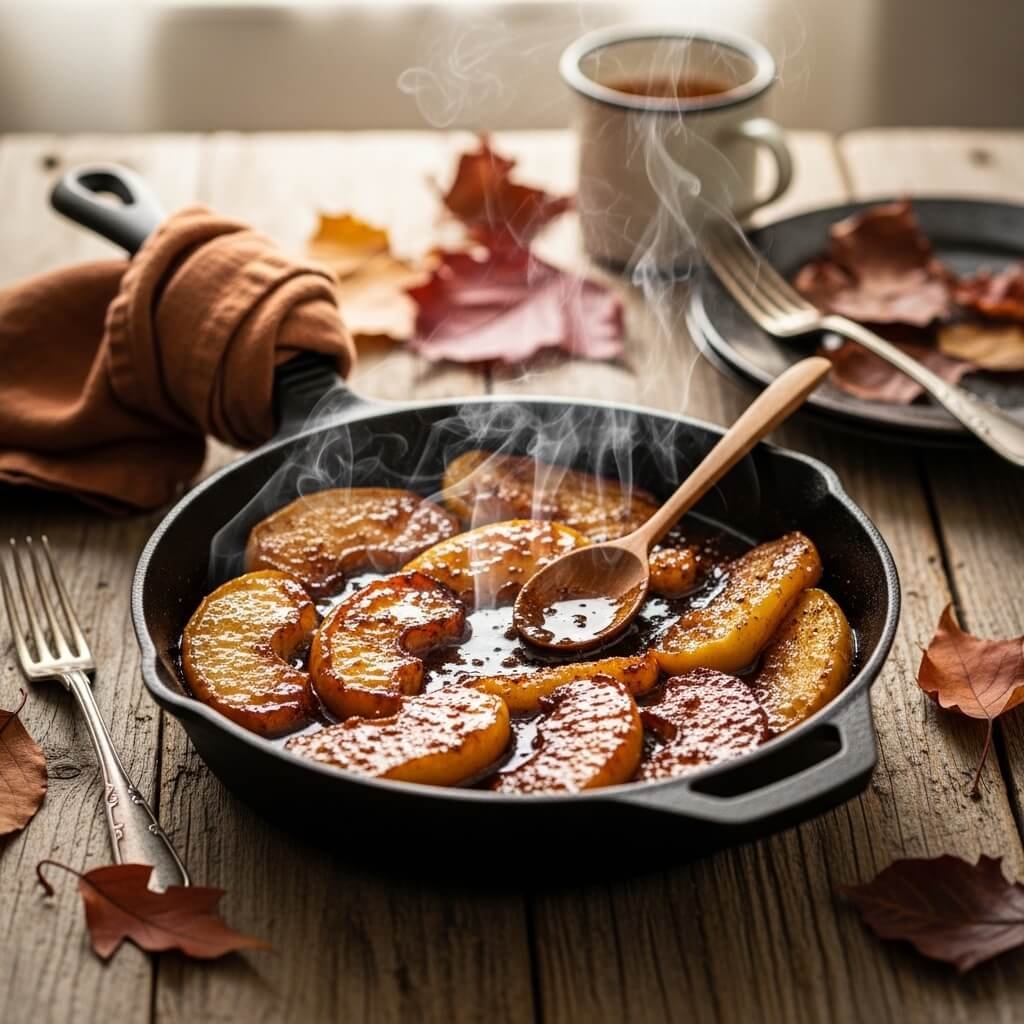
Like an apple pie and a cobbler had a delicious, easy-going baby. It’s warm, spiced, and perfect with a scoop of vanilla ice cream.
- Prep Time: 10 minutes
- Cook Time: 20 minutes
- Ingredients:
- 2 medium apples (like Honeycrisp or Granny Smith), peeled and thinly sliced
- 2 tbsp brown sugar
- 1 tsp lemon juice
- 1 tsp ground cinnamon
- For the topping: ½ cup all-purpose flour, ⅓ cup old-fashioned oats, ¼ cup brown sugar, ¼ tsp salt, 4 tbsp cold unsalted butter, cubed.
- Equipment: 8-inch oven-safe skillet, mixing bowl, pastry cutter or fork.
- Instructions:
- Preheat oven to 375°F (190°C).
- In the skillet, toss the apple slices with 2 tbsp brown sugar, lemon juice, and cinnamon. Cook over medium heat for 5-7 minutes until the apples just start to soften.
- While apples cook, make the topping: In a bowl, combine flour, oats, brown sugar, and salt. Cut in the cold butter with a pastry cutter or your fingers until the mixture resembles coarse crumbs.
- Sprinkle the crumble topping evenly over the cooked apples.
- Bake for 15-20 minutes, until the topping is golden brown and the fruit is bubbly.
- Let it cool for a few minutes before serving. Seriously, molten fruit burns are no joke.
- Notes: A mix of sweet and tart apples gives the best flavor. No pastry cutter? Two butter knives or your clean hands work perfectly.
Also Read: 10 Mouthwatering Apple Dessert Recipes for Family Joy
10. Simple Chocolate Strawberry Dip Platter
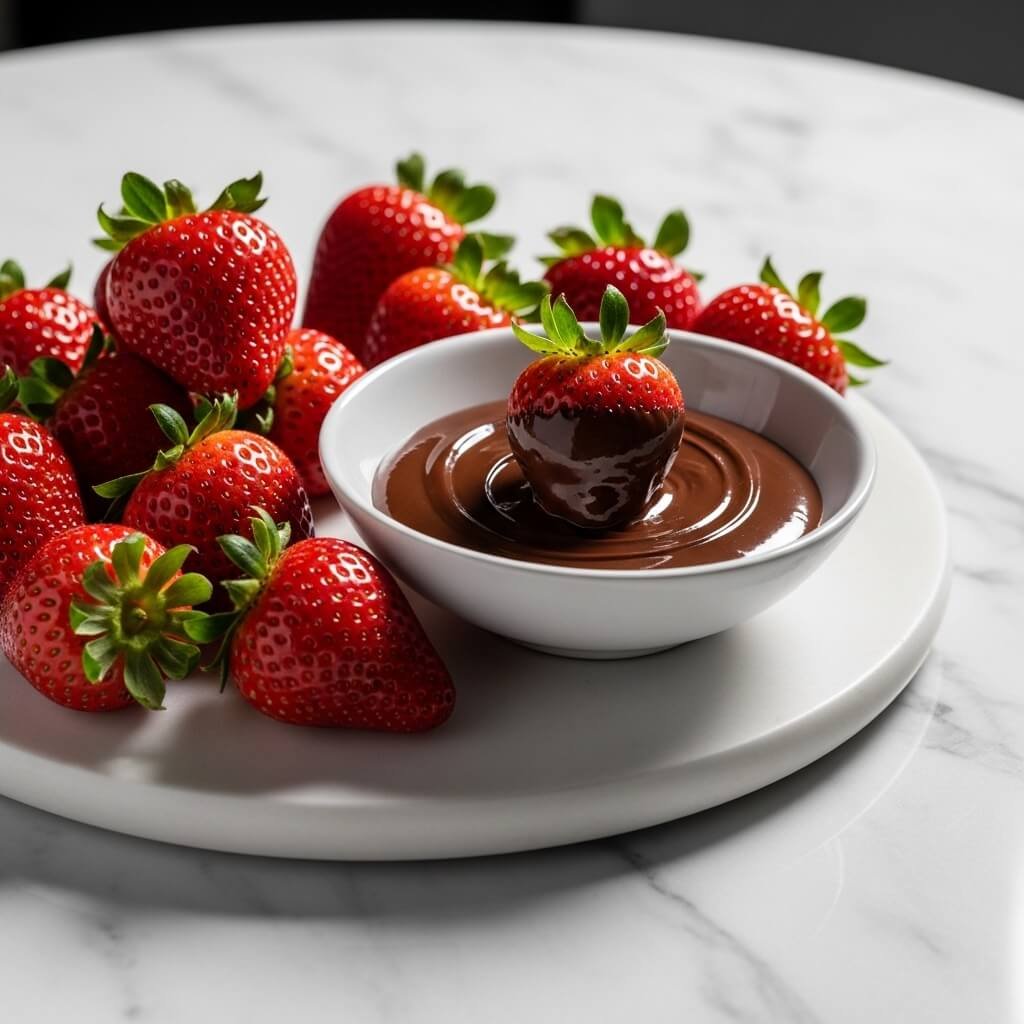
The ultimate interactive dessert for when you have company (or just want to treat yourself like the VIP you are).
- Prep Time: 10 minutes
- Cook Time: 5 minutes
- Ingredients:
- 1 cup semi-sweet chocolate chips
- ½ cup heavy cream
- 1 lb fresh strawberries, washed and dried
- Dippers: Pretzels, marshmallows, banana slices, biscotti, potato chips (trust me!).
- Equipment: Small saucepan or microwave-safe bowl, whisk, serving platter, small bowl for the dip.
- Instructions:
- Place the chocolate chips in a heatproof bowl.
- Heat the heavy cream in a saucepan until it just begins to simmer (tiny bubbles around the edge).
- Pour the hot cream over the chocolate chips. Let it sit for one minute, then whisk gently until completely smooth and glossy.
- Pour the ganache into a small serving bowl.
- Arrange your strawberries and all your chosen dippers beautifully on a platter surrounding the dip.
- Serve immediately and let everyone go to town!
- Notes: This is called a ganache, and it’s your new secret weapon. For a thinner dip, add a splash more cream. The mix of sweet, salty, and crunchy dippers is what makes this platter legendary.
Wrapping It All Up: Your Ticket to Stress-Free Sweets
And there you have it—10 yummy simple dessert recipes that prove you don’t need a culinary degree or an entire afternoon to create something utterly delicious. From the 10-minute magic of a mug brownie to the elegant simplicity of a parfait, each of these is designed to bring joy, not stress, into your kitchen.
The next time that dessert craving hits, remember this list. You’ve got options that are fast, forgiving, and seriously tasty. So go ahead, preheat that microwave (or not!), and treat yourself. After all, a happy baker makes the sweetest treats. Which one are you trying first? I’m betting on those peanut butter chocolate balls… they’re calling my name. 🙂