
Let’s be real for a second. When you’re managing diabetes, the word “dessert” can feel like a distant, sugary dream you’re not allowed to have. It’s like the universe is taunting you with a giant, off-limits chocolate cake. But what if I told you that’s a total myth? Seriously. You can have your cake and eat it too—without the guilt or the blood sugar rollercoaster. I’ve been down this road, experimenting in my own kitchen to find treats that don’t taste like cardboard punishment. Spoiler alert: I found them. And I’m about to share all the secrets. Grab a cup of tea (or coffee, I don’t judge), and let’s dive into a world of delicious, diabetic-friendly desserts that will make your taste buds do a happy dance.
Why “Sugar-Free” Doesn’t Have to Mean “Flavor-Free”
First, let’s bust a myth. A lot of people hear “diabetic dessert” and immediately think of sad, artificial-tasting substitutes that leave a weird aftertaste. Nope. Not here. The game has changed, my friend. We’re talking about desserts made with whole, real-food ingredients that naturally have a low impact on blood sugar. Think almond flour, avocado, chia seeds, and natural sweeteners like stevia or monk fruit. These aren’t just substitutes; they’re upgrades. They add fiber, healthy fats, and protein, which means they satisfy your sweet tooth and keep you feeling full longer. Ever wondered why that slice of regular cake leaves you hungry an hour later? It’s the sugar crash. These recipes? They’re built to avoid that.
The Core Principles of a Great Diabetic-Friendly Dessert:
- High in Fiber: Slows down the absorption of sugar.
- Packed with Healthy Fats: From nuts, seeds, and avocado for sustained energy.
- Low in Net Carbs: We focus on total carbs minus fiber.
- Naturally Sweetened: Using ingredients that don’t spike glucose levels.
IMO, once you get these principles down, you can start tweaking almost any recipe. But why start from scratch when I’ve done the hard work for you? Let’s get to the good stuff.
1. Sugar-Free Chocolate Avocado Mousse Cups
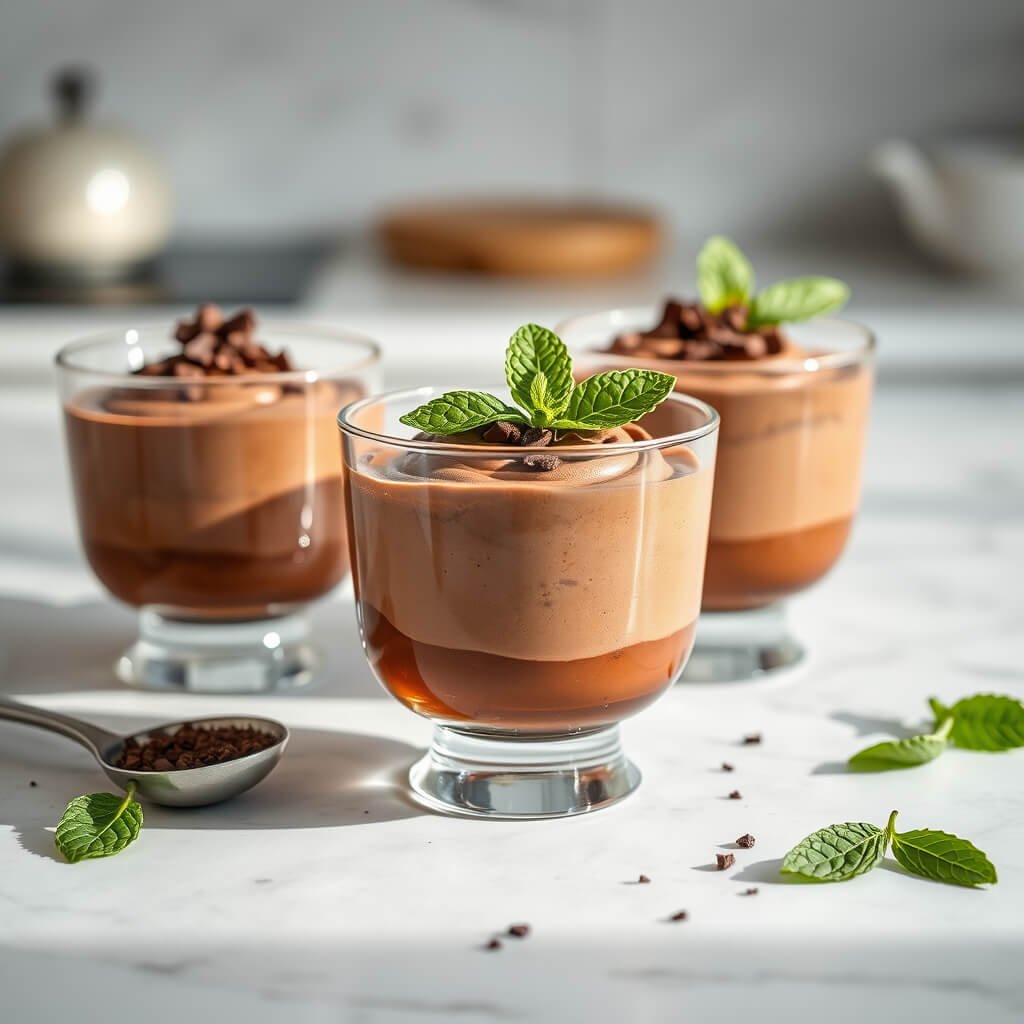
This is sorcery, I swear. You take an avocado, blend it with cocoa powder, and end up with the richest, most decadent chocolate mousse. It’s my go-to when I need a serious chocolate fix, and no one ever guesses the secret ingredient. It’s so good, it feels illegal.
- Prep Time: 10 minutes
- Cook Time: 0 minutes (Chill for 30 mins)
- Servings: 2
Ingredients:
- 1 large ripe avocado
- 1/4 cup unsweetened cocoa powder
- 3-4 tbsp powdered erythritol or monk fruit sweetener (to taste)
- 1/4 cup unsweetened almond milk
- 1 tsp vanilla extract
- A pinch of salt
Equipment:
- Food processor or high-speed blender
- Spatula
- Two serving glasses or ramekins
Instructions:
- Scoop the avocado flesh into your food processor.
- Add the cocoa powder, sweetener, almond milk, vanilla, and salt.
- Blend on high until completely smooth and creamy. You might need to stop and scrape down the sides a couple of times.
- Taste and adjust sweetness if needed.
- Divide the mousse between your glasses and chill in the fridge for at least 30 minutes to firm up.
Notes: The ripeness of your avocado is everything. If it’s not ripe, you’ll get a lumpy texture and a grassy taste. Also, this mousse is fantastic with a dollop of sugar-free whipped cream on top. You’re welcome. 🙂
2. Low-Carb Almond Flour Berry Cheesecake Bars
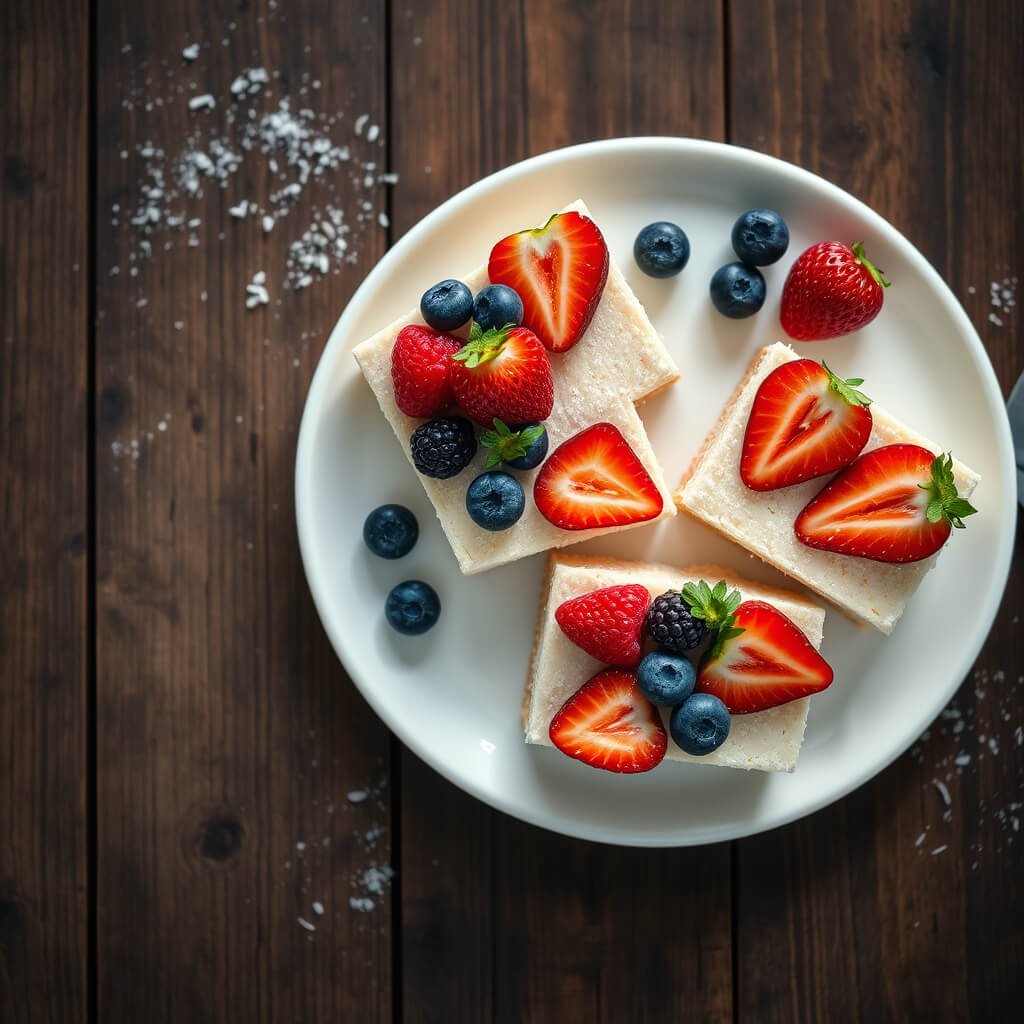
These are perfect for when you want something fancy but easy. The almond flour crust gives it a nutty, satisfying crunch, and the creamy filling is packed with tangy berry goodness. They’re great for meal prep and even better for impressing guests who have no idea they’re “healthy.”
- Prep Time: 15 minutes
- Cook Time: 25-30 minutes
- Servings: 9 bars
Ingredients:
- For the crust: 1.5 cups almond flour, 3 tbsp melted butter, 2 tbsp granulated erythritol.
- For the filling: 16 oz cream cheese (softened), 1/2 cup powdered erythritol, 2 large eggs, 1 tsp vanilla extract, 1/2 cup fresh or frozen mixed berries (raspberries, blueberries).
Equipment:
- 8×8 inch baking pan
- Parchment paper
- Mixing bowls
- Electric hand mixer or stand mixer
- Spatula
Instructions:
- Preheat your oven to 350°F (175°C). Line your baking pan with parchment paper.
- Make the crust: Mix the almond flour, melted butter, and erythritol in a bowl until it resembles wet sand. Press it firmly into the bottom of the pan. Bake for 10 minutes, then let it cool slightly.
- Make the filling: Beat the softened cream cheese and erythritol until smooth. Add the eggs one at a time, then the vanilla, mixing well after each addition.
- Gently fold in the berries.
- Pour the filling over the pre-baked crust. Bake for 25-30 minutes, until the edges are set but the center still jiggles slightly.
- Let it cool completely, then refrigerate for at least 4 hours (or overnight) before slicing into bars.
Notes: Don’t skip the chilling step! It’s crucial for clean slices and the perfect texture. Frozen berries work great here and won’t bleed as much color as fresh ones might.
3. Diabetic-Friendly Coconut Chia Pudding Bowls
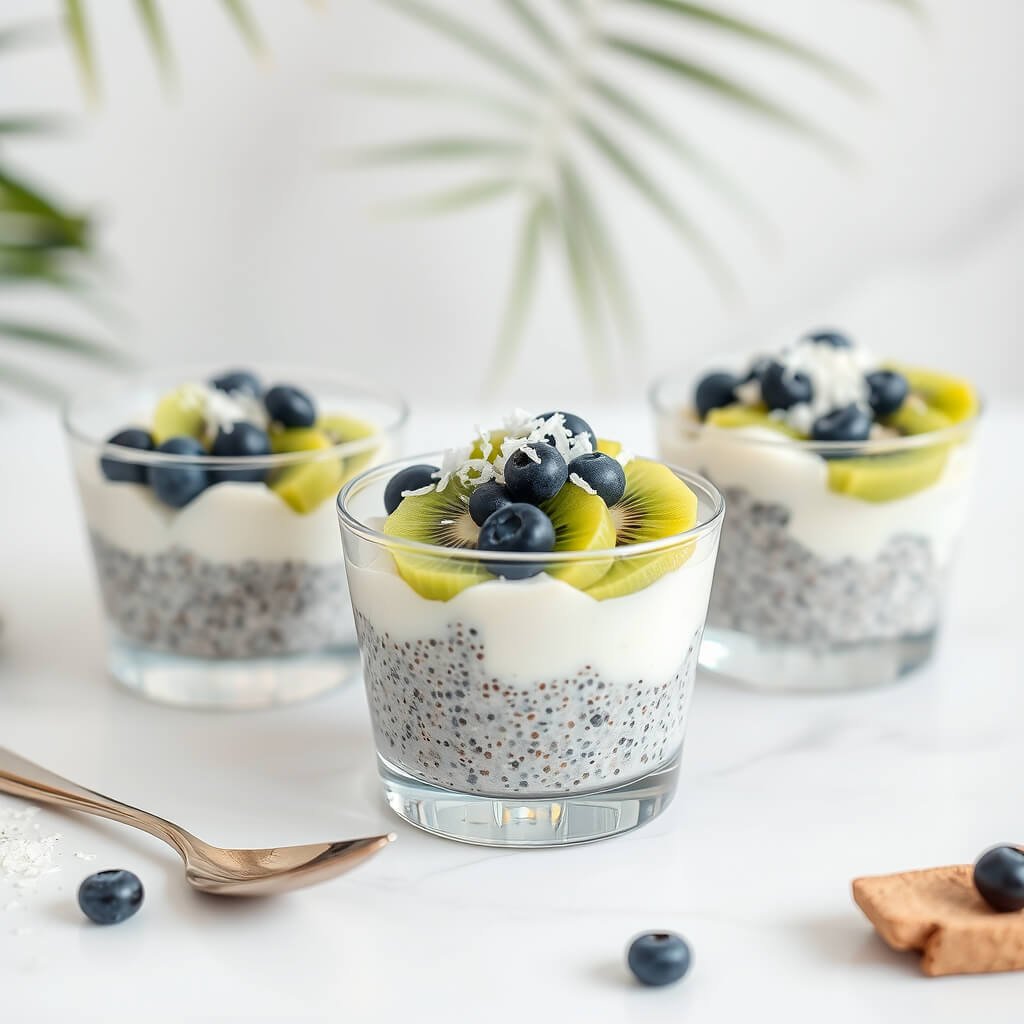
This is basically a blank canvas for deliciousness. It’s packed with fiber and omega-3s from the chia seeds, and the coconut milk makes it rich and creamy. You can top it with whatever low-glycemic fruit you love. It’s my lazy-day breakfast and dessert.
- Prep Time: 5 minutes (plus overnight chilling)
- Cook Time: 0 minutes
- Servings: 2
Ingredients:
- 1/4 cup chia seeds
- 1 cup unsweetened coconut milk (from a carton)
- 1/2 tsp vanilla extract
- Sweetener to taste (a few drops of liquid stevia or 1 tbsp powdered sweetener)
- Toppings: Unsweetened coconut flakes, a handful of berries, a few slivered almonds.
Equipment:
- Jar or bowl with a lid
- Spoon
Instructions:
- In your jar, whisk together the chia seeds, coconut milk, vanilla, and sweetener.
- Let it sit for 5 minutes, then give it another good whisk to break up any clumps.
- Cover and refrigerate overnight, or for at least 4 hours.
- In the morning, give it a stir. If it’s too thick, add a splash more milk.
- Divide into bowls and add your favorite toppings.
Notes: FYI, the brand of chia seeds matters. Some clump more than others. Whisking twice is the key to a smooth texture. This pudding keeps in the fridge for up to 4 days, so make a batch on Sunday!
Also Read: 10 Heavenly Peach Dessert Recipes for Fresh Summer Cravings
4. No-Sugar Banana Oat Cookies for Blood Sugar Control
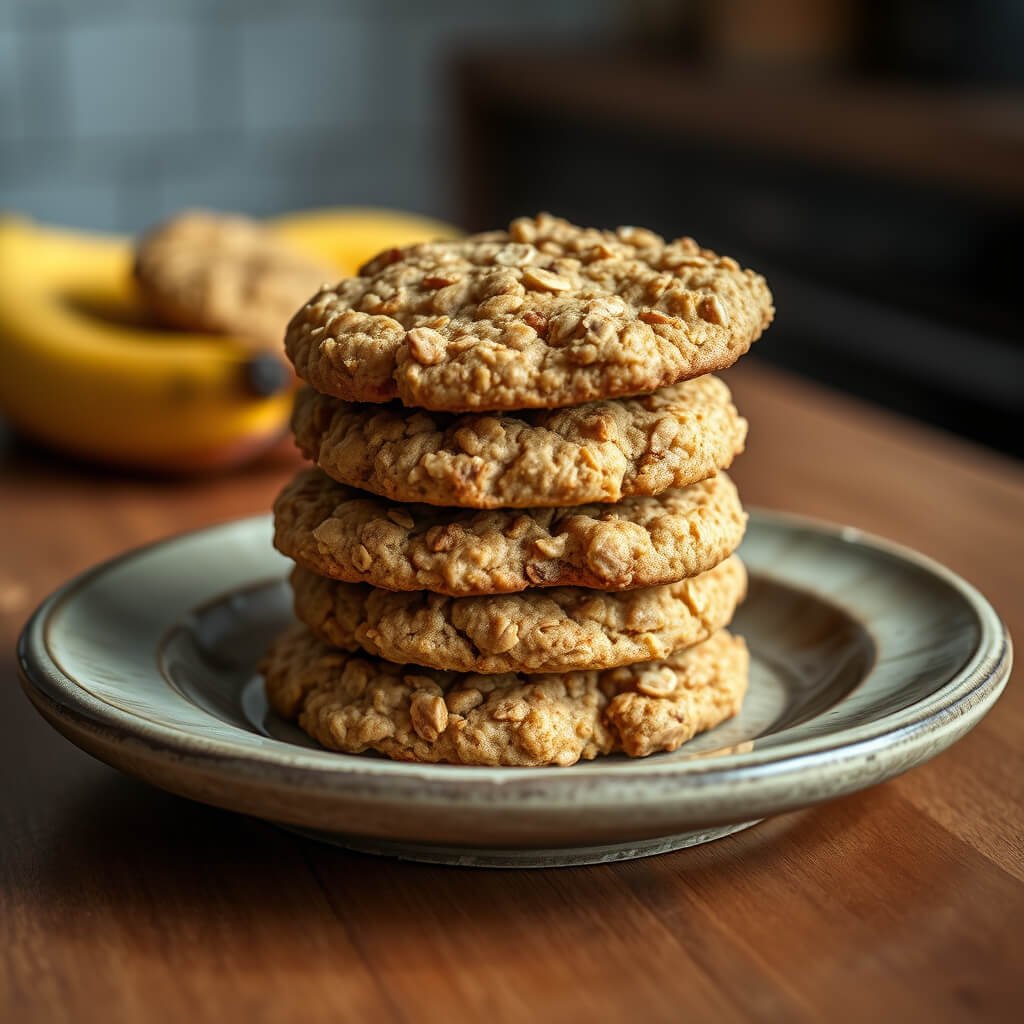
These are the ultimate “throw everything in a bowl” cookies. The banana provides natural sweetness and binding, while the oats and peanut butter give them substance. They’re perfect for a quick snack or a sweet bite after dinner.
- Prep Time: 10 minutes
- Cook Time: 12-15 minutes
- Servings: 12 cookies
Ingredients:
- 2 ripe bananas, mashed
- 1.5 cups rolled oats
- 1/4 cup natural peanut butter (no sugar added)
- 1/4 cup sugar-free chocolate chips or chopped walnuts (optional)
- 1 tsp cinnamon
- 1/2 tsp vanilla extract
Equipment:
- Mixing bowl
- Fork or potato masher
- Baking sheet
- Parchment paper
Instructions:
- Preheat oven to 350°F (175°C). Line a baking sheet with parchment.
- In a bowl, mash the bananas until smooth.
- Add the oats, peanut butter, cinnamon, and vanilla. Mix until well combined.
- Fold in the chocolate chips or walnuts if using.
- Drop spoonfuls of the dough onto the baking sheet and flatten them slightly (they won’t spread much).
- Bake for 12-15 minutes, until the edges are golden brown.
- Let them cool on the pan for 5 minutes before transferring to a wire rack.
Notes: These cookies are soft and cake-like. If you prefer them crispier, press them thinner before baking. Store them in an airtight container—they get even chewier the next day.
5. Keto Cinnamon Apple Crumble (No Added Sugar)
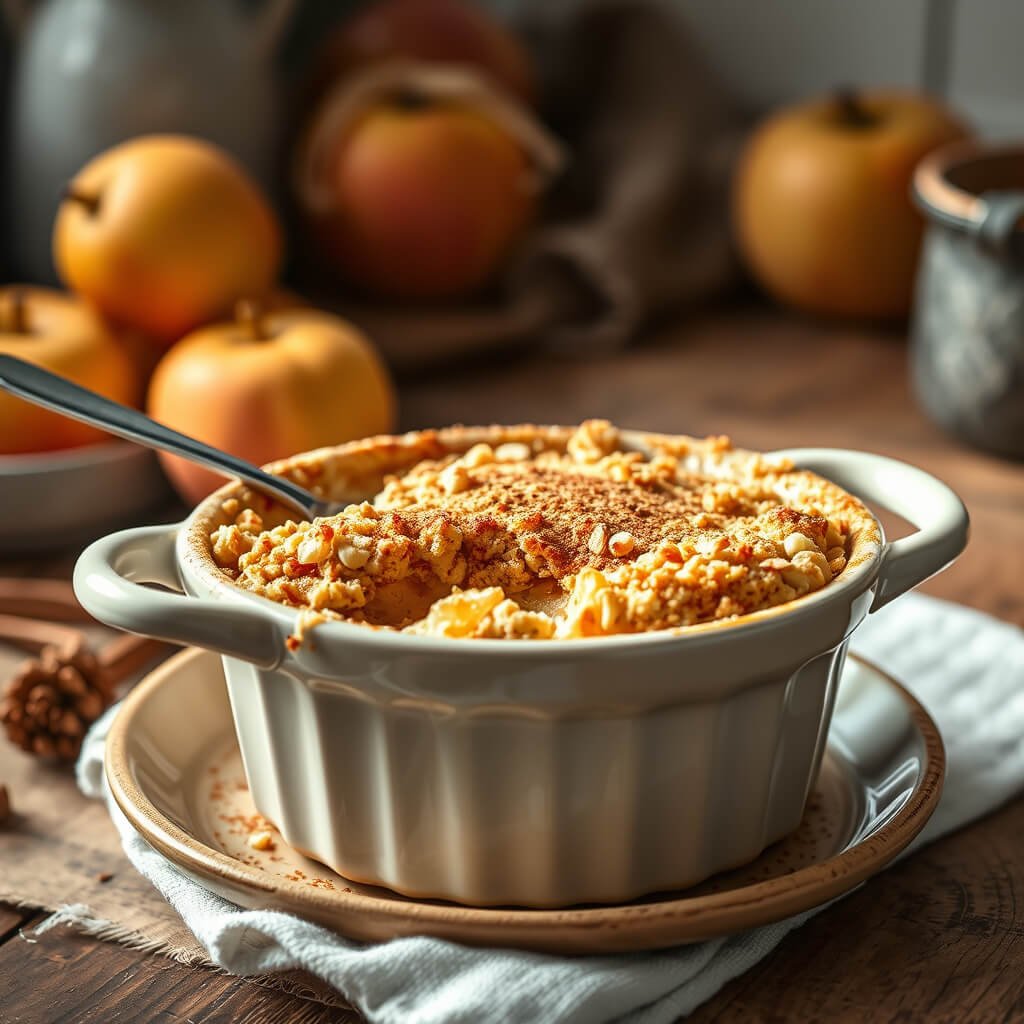
All the cozy vibes of apple crumble, none of the sugar spikes. We use chayote squash (trust me!) as the “apple” base because it has a similar texture when cooked and is super low-carb. The cinnamon-spiced crumble topping is to-die-for.
- Prep Time: 20 minutes
- Cook Time: 35-40 minutes
- Servings: 6
Ingredients:
- For the filling: 3 medium chayote squash (peeled, cored, sliced), 1 tbsp lemon juice, 1 tsp cinnamon, 1/4 tsp nutmeg, 1/2 cup powdered erythritol.
- For the crumble: 1 cup almond flour, 1/2 cup chopped pecans or walnuts, 1/4 cup cold butter (cubed), 1/4 cup brown erythritol, 1 tsp cinnamon, pinch of salt.
Equipment:
- 9-inch pie dish or baking dish
- Mixing bowls
- Pastry cutter or fork
Instructions:
- Preheat oven to 350°F (175°C).
- Prepare the “apples”: Simmer the sliced chayote in water with lemon juice for 10-15 minutes until tender but not mushy. Drain well.
- Toss the drained chayote with the cinnamon, nutmeg, and powdered erythritol. Spread into your baking dish.
- Make the crumble: In a separate bowl, combine almond flour, nuts, brown erythritol, cinnamon, and salt. Cut in the cold butter with a pastry cutter or your fingers until you have a coarse, crumbly mixture.
- Sprinkle the crumble evenly over the filling.
- Bake for 35-40 minutes, until the topping is golden brown and the filling is bubbly.
- Let it cool for at least 15 minutes before serving.
Notes: I know, chayote sounds weird. But it takes on the flavor of the spices perfectly and has a fantastic “apple-like” bite. If you can find it, this trick is a total game-changer. Serve it warm with a scoop of keto vanilla ice cream.
6. Stevia-Sweetened Lemon Yogurt Dessert Cups
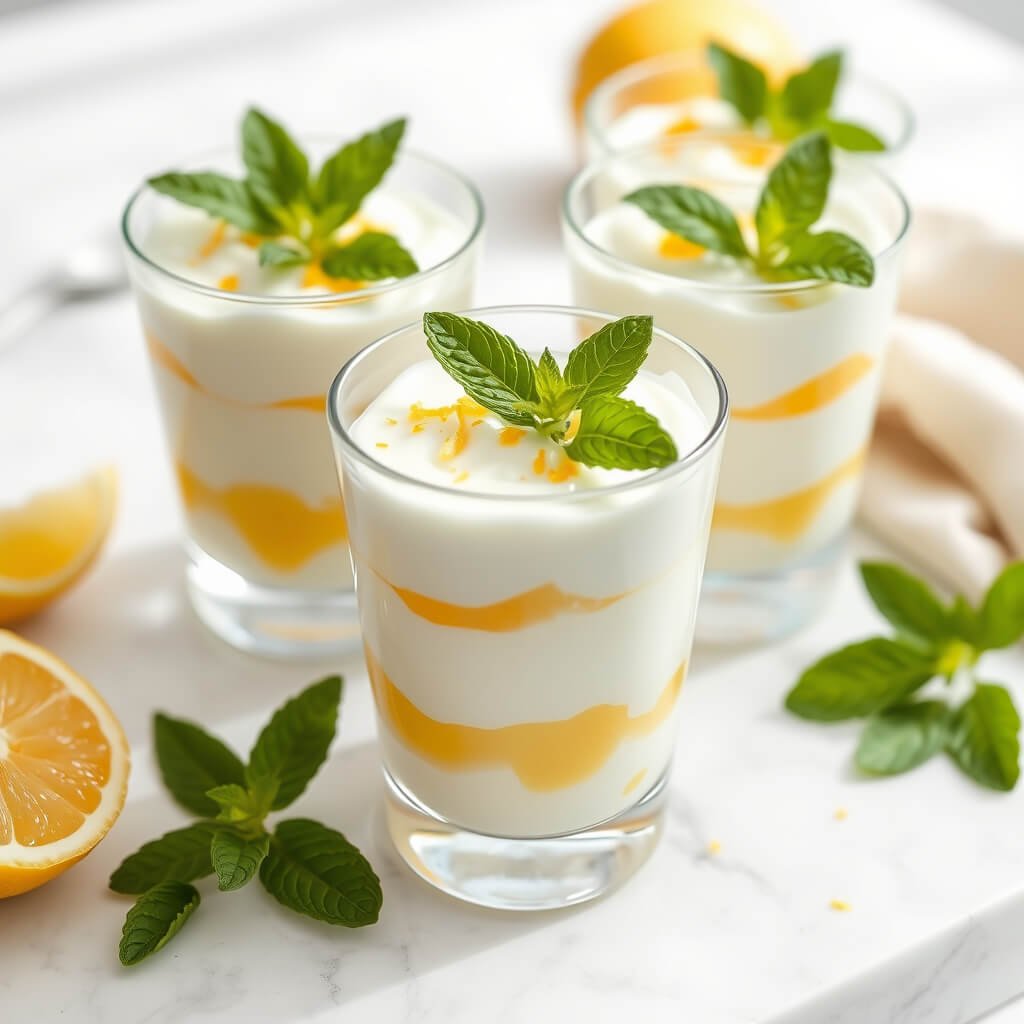
Light, tangy, and refreshing. This is like a deconstructed lemon cheesecake in a cup. It’s incredibly simple but tastes so elegant. The Greek yogurt provides a protein punch, making it a satisfying end to any meal.
- Prep Time: 10 minutes
- Cook Time: 0 minutes
- Servings: 2
Ingredients:
- 1 cup full-fat plain Greek yogurt
- Zest of 1 lemon
- 2 tbsp fresh lemon juice
- 10-12 drops of liquid stevia (or to taste)
- 1/2 tsp vanilla extract
- Optional topping: A few fresh raspberries or a sprinkle of lemon zest.
Equipment:
- Mixing bowl
- Whisk or spoon
- Two small serving glasses
Instructions:
- In a bowl, combine the Greek yogurt, lemon zest, lemon juice, stevia, and vanilla.
- Whisk until completely smooth and creamy.
- Taste and adjust sweetness or lemon flavor as desired.
- Spoon into your serving glasses and chill for 30 minutes to let the flavors meld.
- Top with berries or extra zest before serving.
Notes: Use full-fat yogurt. The low-fat versions are often higher in sugar and have a thinner texture. This is also amazing with a little sugar-free lemon curd swirled in if you’re feeling extra fancy.
Also Read: 10 Easy Healthy Dessert Recipes Naturally Sweet Bliss
7. Almond Butter Dark Chocolate Fat Bomb Bites

Don’t let the name scare you! “Fat bombs” are a keto staple designed to give you a boost of healthy fats and curb cravings. These taste like a decadent peanut butter cup but are packed with good-for-you ingredients.
- Prep Time: 15 minutes
- Cook Time: 0 minutes (Freeze for 1 hour)
- Servings: 12 bites
Ingredients:
- 1/2 cup natural almond butter
- 1/4 cup coconut oil, melted
- 3 tbsp unsweetened cocoa powder
- 2 tbsp powdered erythritol
- 1/2 tsp vanilla extract
- Pinch of sea salt
Equipment:
- Mixing bowl
- Whisk
- Mini muffin tin or silicone mold
- Paper liners (optional)
Instructions:
- Line a mini muffin tin with paper liners or use a silicone mold.
- In a bowl, whisk together the almond butter and melted coconut oil until smooth.
- Add the cocoa powder, erythritol, vanilla, and salt. Whisk until fully combined and glossy.
- Carefully pour or spoon the mixture into your molds.
- Freeze for at least 1 hour, or until solid.
- Pop them out of the molds and store in a sealed container in the freezer.
Notes: These melt fast at room temperature because of the coconut oil. Keep them frozen and take one out a minute or two before you want to eat it. They’re the perfect after-dinner treat when you need just one or two bites of something rich.
8. Low-GI Fruit Salad with Greek Yogurt Drizzle
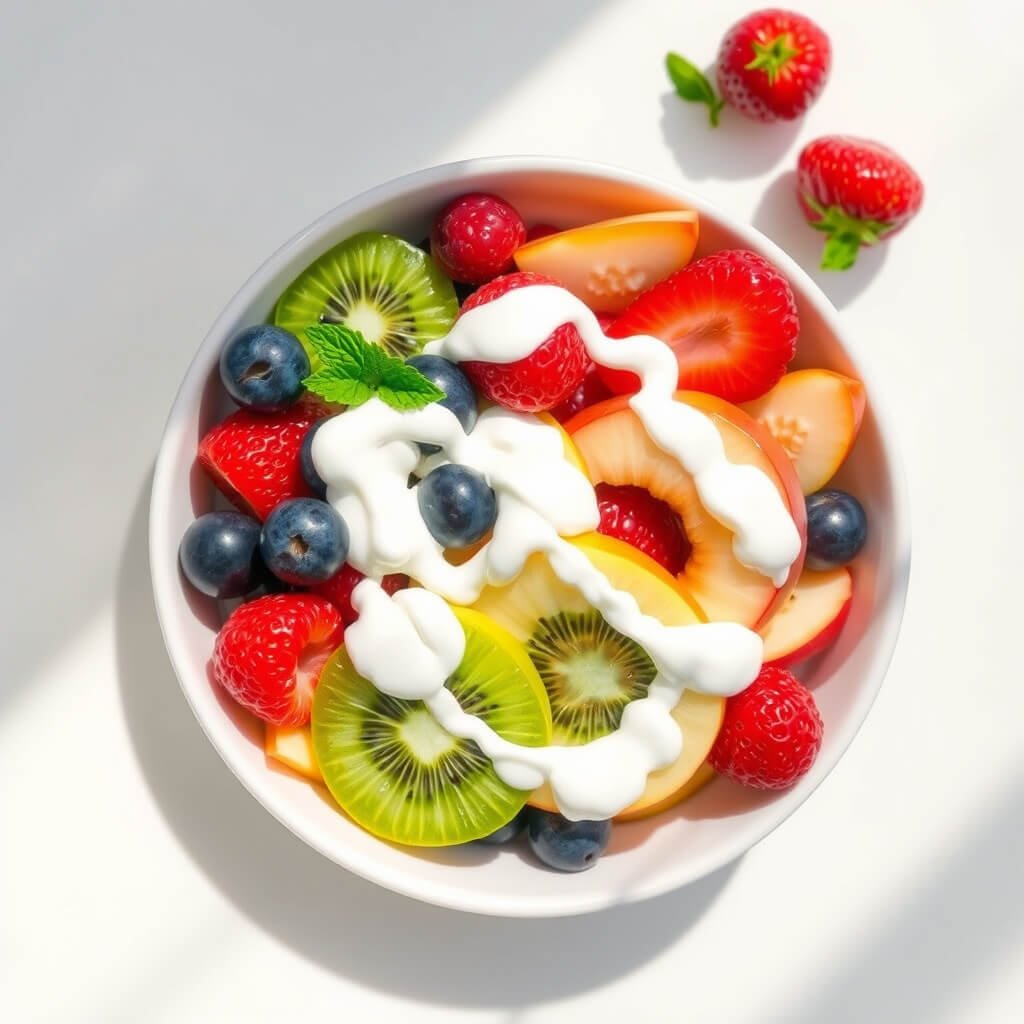
Sometimes, simplicity wins. This isn’t just chopped fruit in a bowl; it’s a thoughtful combination of low-glycemic fruits with a creamy, protein-rich drizzle that turns it into a proper dessert.
- Prep Time: 15 minutes
- Cook Time: 0 minutes
- Servings: 4
Ingredients:
- For the salad: 1 cup strawberries (hulled, halved), 1 cup blueberries, 1 cup raspberries, 1 medium apple (chopped, skin on for fiber).
- For the drizzle: 1/2 cup plain Greek yogurt, 2 tbsp powdered erythritol, 1/2 tsp vanilla extract, 1-2 tbsp unsweetened almond milk (to thin).
Equipment:
- Large mixing bowl
- Small bowl
- Whisk
- Serving bowl
Instructions:
- In a large bowl, gently combine all the fruit.
- In a small bowl, whisk together the Greek yogurt, erythritol, vanilla, and almond milk until you have a smooth, drizzly consistency.
- Divide the fruit salad among serving bowls.
- Drizzle the yogurt sauce generously over the top.
Notes: Choose berries and apples for the best low-GI impact. Avoid high-sugar fruits like pineapple, mango, or ripe bananas. This is best served immediately so the fruit stays fresh and the drizzle looks pretty. :/
9. Sugar-Free Vanilla Custard with Almond Milk
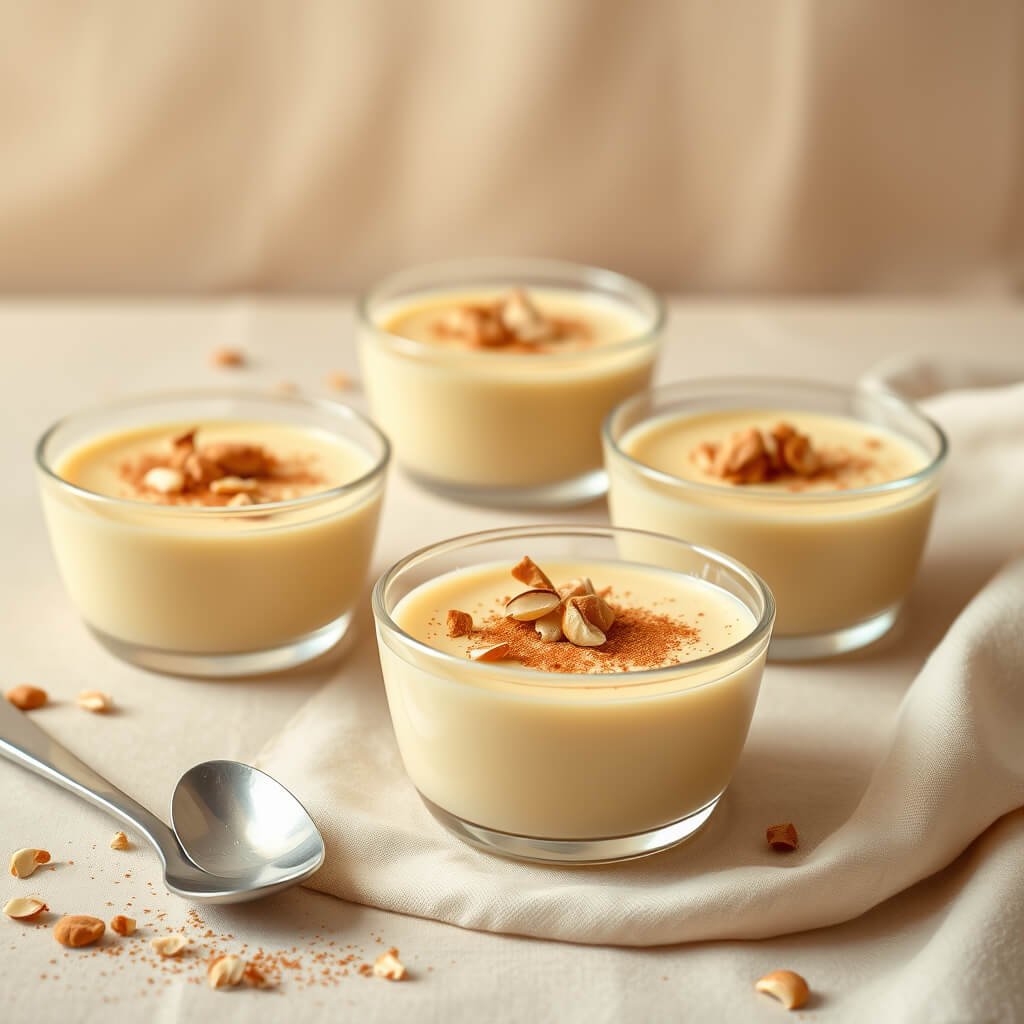
Creamy, comforting, and classic. This custard uses almond milk and a touch of xanthan gum to get that perfect, spoonable texture without any eggs or sugar. It’s like a warm hug in a ramekin.
- Prep Time: 5 minutes
- Cook Time: 10 minutes
- Servings: 2
Ingredients:
- 2 cups unsweetened vanilla almond milk
- 3 tbsp granulated erythritol
- 2 tbsp cornstarch
- 1/4 tsp xanthan gum (key for thickness!)
- 1 tsp vanilla extract
- Pinch of salt
Equipment:
- Medium saucepan
- Whisk
- Two ramekins or serving glasses
Instructions:
- In a saucepan, whisk together the almond milk, erythritol, cornstarch, xanthan gum, and salt until no lumps remain.
- Place over medium heat and cook, whisking constantly, until the mixture thickens and comes to a gentle boil (about 8-10 minutes).
- Once it boils, continue to whisk for one more minute to fully cook the starch.
- Remove from heat and stir in the vanilla extract.
- Pour into your ramekins and let them cool. The custard will thicken further as it cools. You can serve it warm or chill it in the fridge.
Notes: Do not stop whisking! This prevents lumps and stops the bottom from scorching. The xanthan gum is non-negotiable for that authentic custard jiggle. Chill it for a cold, pudding-like treat.
Also Read: 10 Mouthwatering Apple Dessert Recipes for Family Joy
10. Diabetic-Friendly Peanut Butter Oat Energy Balls
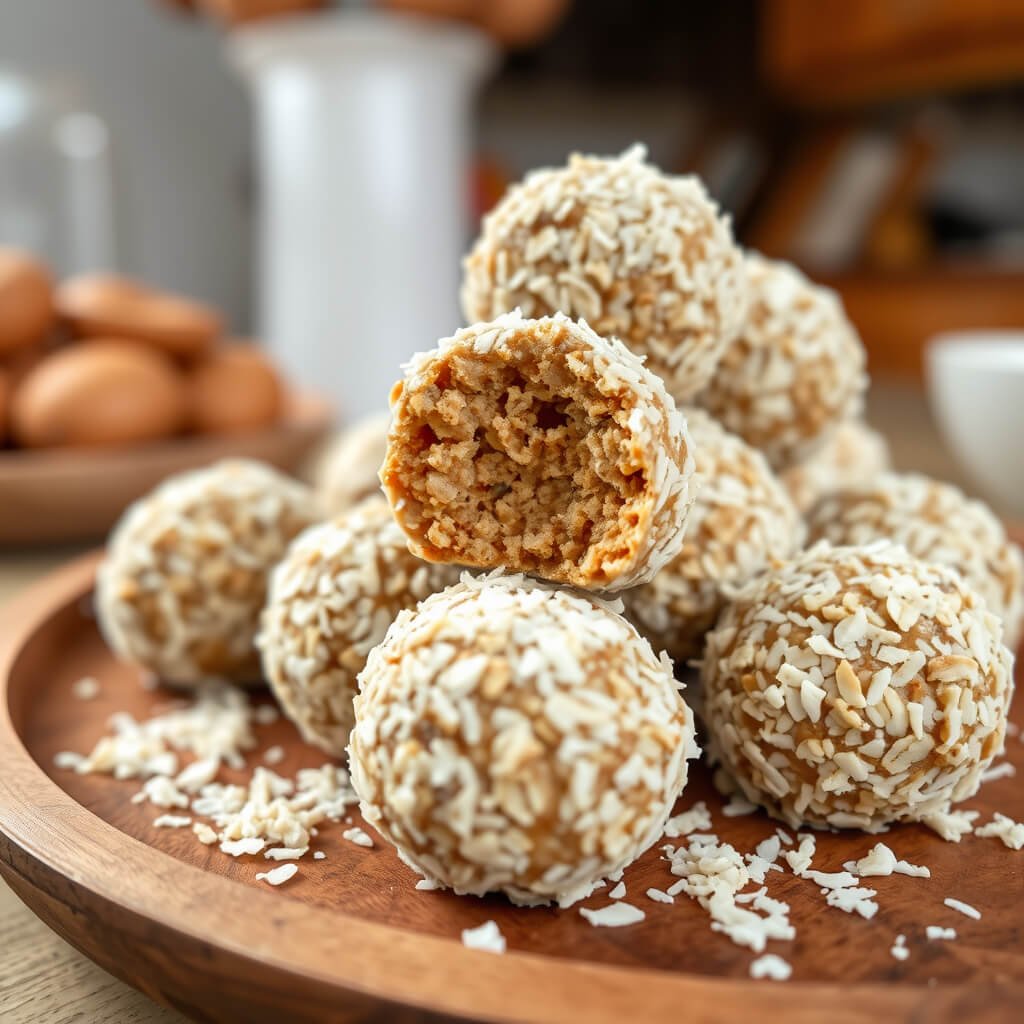
The ultimate no-bake, grab-and-go treat. They taste like cookie dough but are loaded with fiber and protein. I always have a batch of these in the fridge for when a craving hits or I need a quick energy boost.
- Prep Time: 10 minutes
- Cook Time: 0 minutes (Chill for 30 mins)
- Servings: 12 balls
Ingredients:
- 1 cup rolled oats
- 1/2 cup natural peanut butter
- 1/3 cup sugar-free maple syrup or liquid allulose
- 1/4 cup ground flaxseed
- 1/4 cup sugar-free chocolate chips
- 1 tsp vanilla extract
- Pinch of salt
Equipment:
- Mixing bowl
- Spatula
- Baking sheet or plate
Instructions:
- Combine all ingredients in a large bowl.
- Stir until everything is thoroughly mixed. The dough should be thick and slightly sticky.
- If it’s too dry, add a teaspoon of water or almond milk. If it’s too wet, add a tablespoon more oats.
- Roll the mixture into 12 evenly-sized balls.
- Place them on a baking sheet or plate and chill in the fridge for at least 30 minutes to firm up.
Notes: These are endlessly customizable. Throw in some chia seeds, shredded coconut, or chopped almonds. They keep in the fridge for up to two weeks, making them perfect for weekly meal prep.
Your Sweet Tooth, Reclaimed
So there you have it—ten proof-positive ways to enjoy dessert without a single shred of guilt. Managing diabetes isn’t about deprivation; it’s about smart, delicious swaps. It’s about reclaiming the joy of food. Every recipe here is a tool in your toolkit, a way to take back control while still indulging in life’s sweet moments.
The best part? You don’t need to be a professional chef to make any of these. Just start with one that sounds good to you. Play with it. Make it your own. And remember, the goal is progress, not perfection. One tasty, blood-sugar-friendly dessert at a time.
Now go preheat that oven (or just grab a bowl and a whisk). Your taste buds—and your body—will thank you.
P.S. Still skeptical about the avocado chocolate mousse? I dare you to try it and serve it to a friend without telling them what’s in it. Their face when you reveal the secret? Priceless. 🙂