Ever walked into a birthday party, spotted the cake, and thought, “Yep, this is going to be a good night”? That’s the power of a show-stopping birthday cake.
Whether you’re a seasoned baker or someone who barely knows the difference between baking soda and baking powder (no judgment here!), I’ve got you covered with 10 incredible birthday cake recipes that range from ridiculously easy to impressively elaborate.
I’ve spent more weekends than I’d like to admit elbow-deep in buttercream, and trust me — I’ve made every mistake so you don’t have to. From cakes that collapsed in the oven to frosting that looked like a toddler’s art project, I’ve been there.
But these recipes? These are the ones that actually work, taste amazing, and make people think you secretly attended pastry school.
So grab your apron, preheat that oven, and let’s get into it.
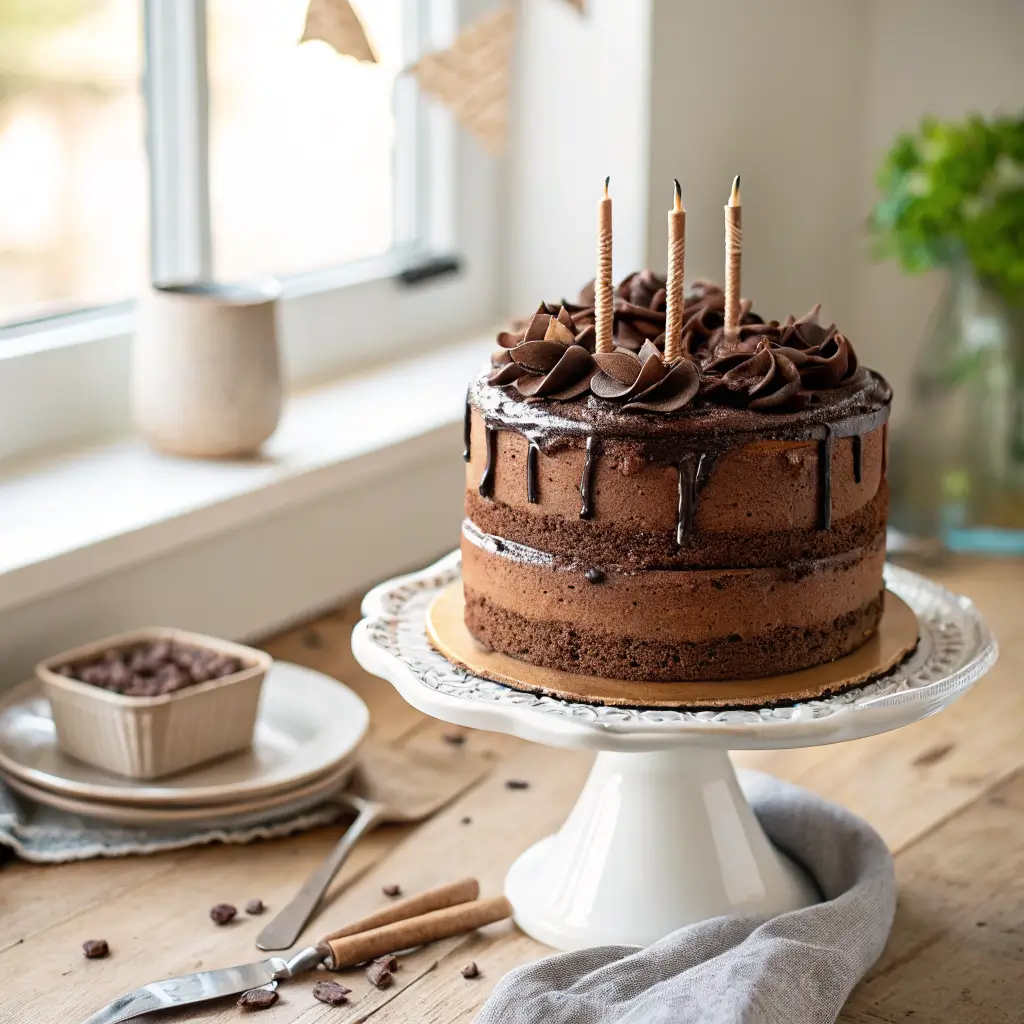
1. Easy Chocolate Birthday Layer Cake
Why This One’s a Classic
Let’s start with the GOAT — chocolate layer cake. You literally cannot go wrong with this one. If someone doesn’t like chocolate cake, I honestly don’t trust them. (Just kidding… sort of.) This recipe delivers rich, moist layers with a velvety chocolate frosting that’ll have people scraping their plates.
- Prep Time: 25 minutes
- Cook Time: 30 minutes
Ingredients
For the Cake:
- 2 cups all-purpose flour
- 2 cups granulated sugar
- ¾ cup unsweetened cocoa powder
- 2 tsp baking soda
- 1 tsp salt
- 2 large eggs
- 1 cup buttermilk
- 1 cup hot water
- ½ cup vegetable oil
- 2 tsp vanilla extract
For the Frosting:
- 1 cup unsalted butter (softened)
- 3½ cups powdered sugar
- ¾ cup cocoa powder
- ⅓ cup heavy cream
- 1 tsp vanilla extract
- Pinch of salt
Equipment
- Two 9-inch round cake pans
- Mixing bowls
- Electric mixer
- Wire cooling rack
- Offset spatula
Instructions
- Preheat your oven to 350°F (175°C). Grease and flour your cake pans — don’t skip this step unless you enjoy prying cake out of pans with a fork.
- Whisk together the flour, sugar, cocoa powder, baking soda, and salt in a large bowl.
- Add eggs, buttermilk, oil, and vanilla. Beat on medium speed for 2 minutes.
- Stir in the hot water. The batter will look shockingly thin — that’s normal. Don’t panic.
- Divide the batter evenly between your two pans and bake for 28–32 minutes, or until a toothpick comes out clean.
- Let the cakes cool in pans for 10 minutes, then transfer to a wire rack.
- For the frosting, beat the butter until fluffy, then gradually add powdered sugar and cocoa powder. Pour in the cream and vanilla, and beat until smooth.
- Frost the first layer, stack the second on top, and frost the entire cake.
Notes
The hot water is the secret weapon here. It blooms the cocoa powder and creates an incredibly deep chocolate flavor. FYI, you can swap it for hot coffee if you want even more depth — it won’t taste like coffee, just more chocolatey. Also, make sure your cakes are completely cool before frosting. I learned that the hard way with a frosting meltdown that looked like a chocolate lava flow :/
2. Vanilla Funfetti Celebration Cake
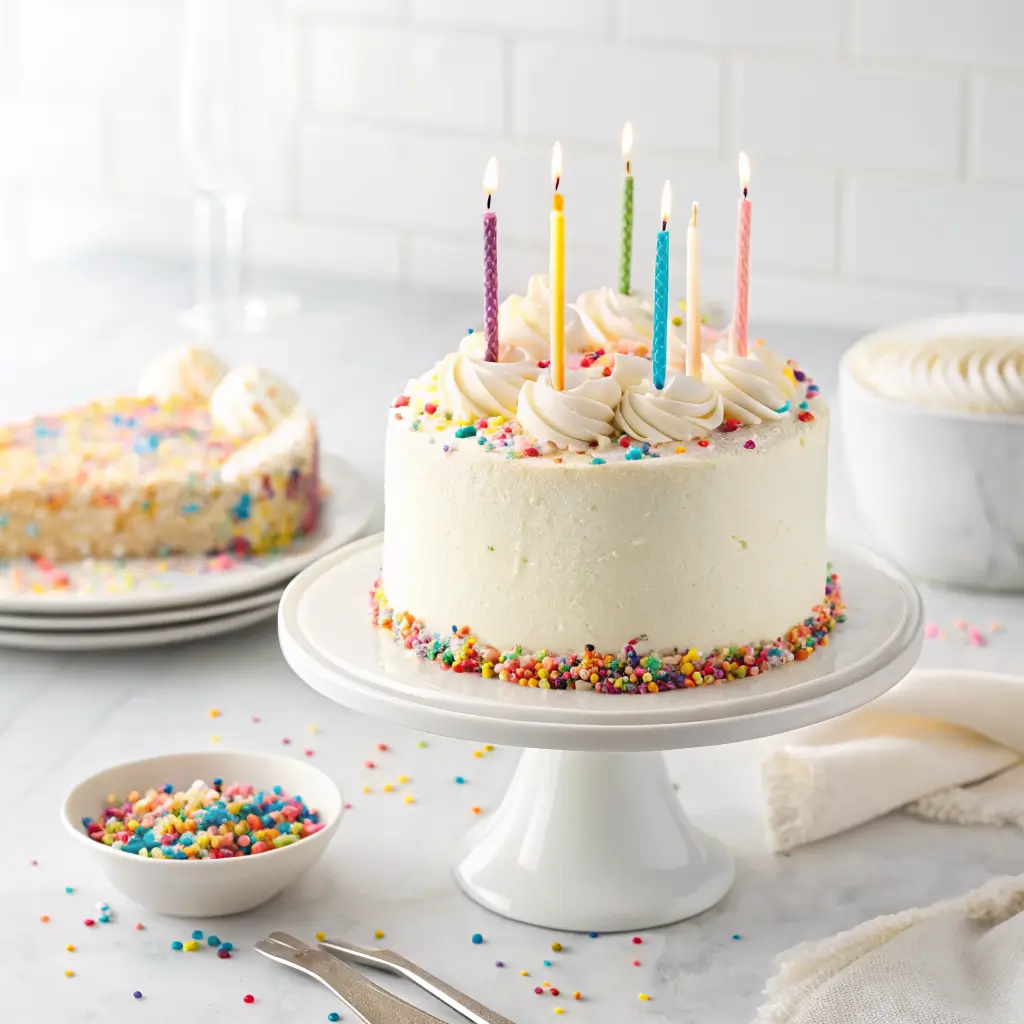
Because Sprinkles Make Everything Better
This cake is pure joy in dessert form. Funfetti cake screams “party,” and it tastes like childhood nostalgia wrapped in buttercream. The key here? Fold the sprinkles into the batter gently — overmixing makes the colors bleed, and you’ll end up with a weird purple-ish cake instead of a confetti explosion.
- Prep Time: 20 minutes
- Cook Time: 25 minutes
Ingredients
For the Cake:
- 2½ cups all-purpose flour
- 2½ tsp baking powder
- ½ tsp salt
- ¾ cup unsalted butter (softened)
- 1¾ cups granulated sugar
- 4 large egg whites
- 1 tbsp vanilla extract
- 1 cup whole milk
- ½ cup rainbow sprinkles
For the Frosting:
- 1 cup unsalted butter (softened)
- 4 cups powdered sugar
- 2–3 tbsp heavy cream
- 2 tsp vanilla extract
- Extra sprinkles for decorating
Equipment
- Two 8-inch round cake pans
- Mixing bowls
- Electric mixer
- Rubber spatula
- Piping bag (optional)
Instructions
- Preheat oven to 350°F. Grease and line your pans with parchment paper.
- Whisk flour, baking powder, and salt together.
- Cream butter and sugar until light and fluffy — about 3 full minutes. Don’t rush this part.
- Add egg whites one at a time, then the vanilla.
- Alternate adding the flour mixture and milk, starting and ending with flour.
- Fold in sprinkles with a rubber spatula. Gently. I mean it.
- Divide batter between pans and bake for 22–28 minutes.
- Cool completely, then frost with vanilla buttercream and cover in more sprinkles because why not?
Notes
Use jimmies (the long, rod-shaped sprinkles), not nonpareils. Nonpareils dissolve into the batter and create weird colored streaks. Also, I strongly recommend using egg whites only here — whole eggs give the cake a yellow tint that dulls the white crumb you want for maximum sprinkle contrast.
3. Red Velvet Birthday Cake with Cream Cheese Frosting
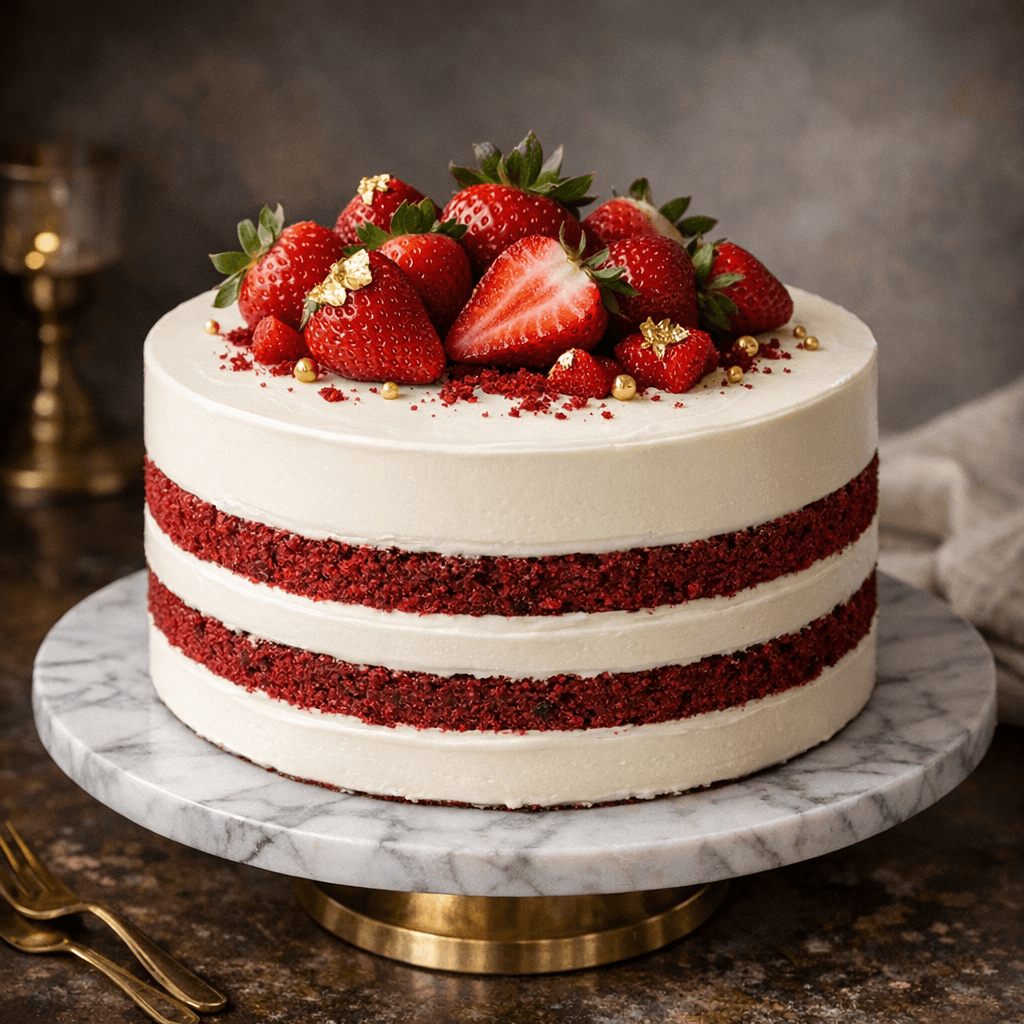
The One That Looks Fancy But Isn’t
Red velvet is that one cake that looks like you spent all day in the kitchen, but honestly? It’s not that much harder than a regular vanilla cake. The tang from the buttermilk and cream cheese frosting creates a flavor combination that’s absolutely addictive. IMO, cream cheese frosting is superior to buttercream in every way. Fight me.
- Prep Time: 25 minutes
- Cook Time: 30 minutes
Ingredients
For the Cake:
- 2½ cups all-purpose flour
- 2 cups sugar
- 1 tbsp cocoa powder
- 1 tsp baking soda
- 1 tsp salt
- 2 large eggs
- 1 cup buttermilk
- 1½ cups vegetable oil
- 1 tbsp white vinegar
- 2 tsp vanilla extract
- 2 tbsp red food coloring
For the Cream Cheese Frosting:
- 16 oz cream cheese (softened)
- ½ cup unsalted butter (softened)
- 4 cups powdered sugar
- 2 tsp vanilla extract
Equipment
- Three 8-inch round cake pans
- Mixing bowls
- Electric mixer
- Serrated knife (for leveling)
Instructions
- Preheat oven to 350°F. Prepare three cake pans.
- Sift together flour, sugar, cocoa, baking soda, and salt.
- In a separate bowl, whisk eggs, buttermilk, oil, vinegar, vanilla, and food coloring.
- Combine wet and dry ingredients until just mixed. Overmixing = tough cake.
- Divide evenly among pans. Bake for 25–30 minutes.
- Cool completely on wire racks.
- Beat cream cheese and butter until smooth, add powdered sugar gradually, then vanilla.
- Level the cake layers with a serrated knife, stack, and frost generously.
Notes
The vinegar and baking soda reaction is what gives red velvet its signature fluffy texture. Don’t skip it. Also, if you want a more natural red color, use beet powder — it works surprisingly well. One more thing: chill your cake layers for 20 minutes in the freezer before frosting. It makes the whole process cleaner and way less frustrating.
Also Read: 10 Amazing Box Cake Mix Recipes for Bakery Style Magic
4. Rainbow Surprise Inside Birthday Cake
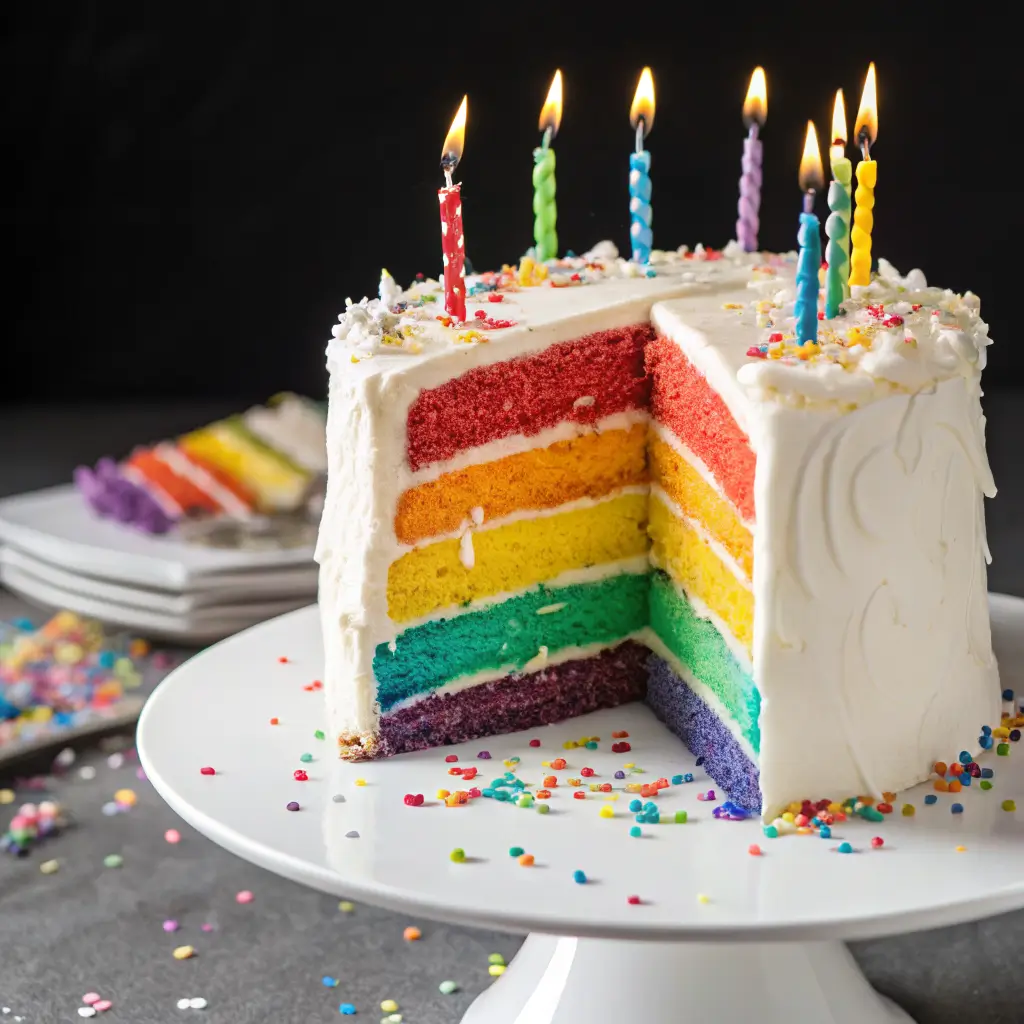
The “Wow” Factor Cake
This is the cake that gets the gasp when you cut into it. Layers of colorful cake hidden inside a plain exterior — it’s like a magic trick, but edible. Fair warning: this one takes some patience. But the look on someone’s face when they see those rainbow layers? Worth every minute.
- Prep Time: 40 minutes
- Cook Time: 25 minutes
Ingredients
- 1 box white cake mix (plus ingredients on the box) OR a homemade white cake recipe
- Gel food coloring (red, orange, yellow, green, blue, purple)
- White buttercream frosting (enough to fill and frost a 6-inch cake)
Equipment
- Six 6-inch round cake pans (or bake in batches)
- Mixing bowls (6 small ones)
- Electric mixer
- Cake leveler or serrated knife
- Offset spatula
Instructions
- Prepare your cake batter and divide it equally into six bowls.
- Tint each bowl a different color of the rainbow.
- Pour each colored batter into its own greased 6-inch pan.
- Bake at 350°F for 15–18 minutes per layer.
- Cool completely, then level each layer so they stack evenly.
- Stack the layers in rainbow order with buttercream between each one.
- Frost the entire outside in white buttercream to hide the surprise inside.
- Chill for 30 minutes, then slice and watch the reactions.
Notes
Gel food coloring is non-negotiable here. Liquid food coloring dilutes the batter and produces faded, sad colors. Also, keep the layers thin — about ½ inch each — or your cake will be enormous and hard to slice. Pro tip: freeze the layers for 15 minutes before stacking. They won’t crumble, and you’ll keep your sanity intact.
5. No-Bake Oreo Birthday Icebox Cake
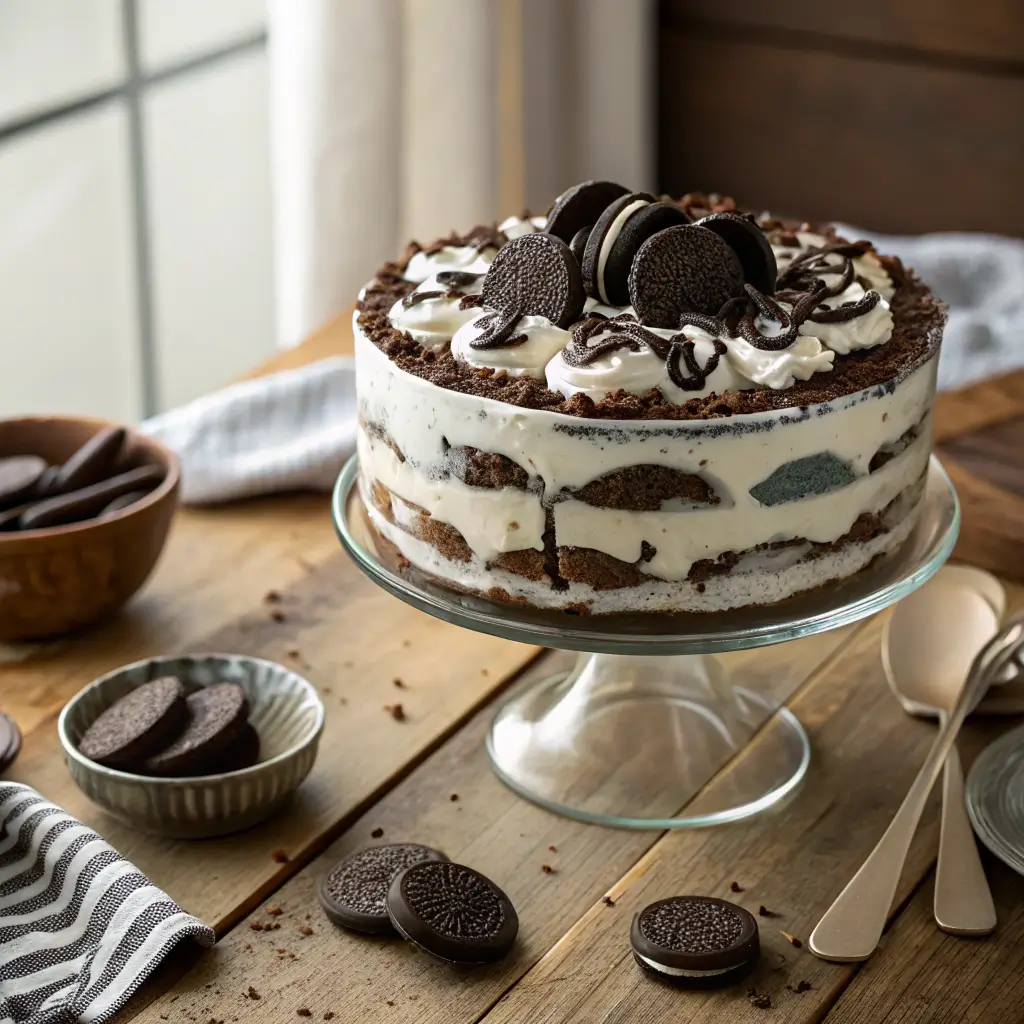
Zero Oven Required
No oven? No problem. No baking skills? Also no problem. This Oreo icebox cake is basically layering cookies and whipped cream and waiting. That’s it. The fridge does all the heavy lifting, and you get all the credit. Sounds like a great deal to me.
- Prep Time: 20 minutes
- Chill Time: 6 hours (or overnight)
Ingredients
- 36 Oreo cookies
- 2 cups heavy whipping cream
- ¼ cup powdered sugar
- 1 tsp vanilla extract
- 8 oz cream cheese (softened)
- Extra Oreos for topping (crushed)
Equipment
- 9×9 inch dish or springform pan
- Electric mixer
- Spatula
Instructions
- Beat heavy cream, powdered sugar, and vanilla until stiff peaks form.
- In a separate bowl, beat cream cheese until smooth, then fold it into the whipped cream.
- Spread a thin layer of the cream mixture on the bottom of your dish.
- Arrange a layer of Oreo cookies on top.
- Add another layer of cream, then cookies, and repeat until you run out.
- Finish with a cream layer on top and crushed Oreos for garnish.
- Cover and refrigerate for at least 6 hours, preferably overnight.
Notes
The magic happens during the chill time. The cookies soften and become almost cake-like in texture. Don’t rush this — if you dig in early, you’ll just get crunchy cookies and cream, which isn’t bad but isn’t the same experience. Also, you can swap Oreos for any chocolate sandwich cookie if you’re feeling adventurous.
6. Strawberry Cream Birthday Cake
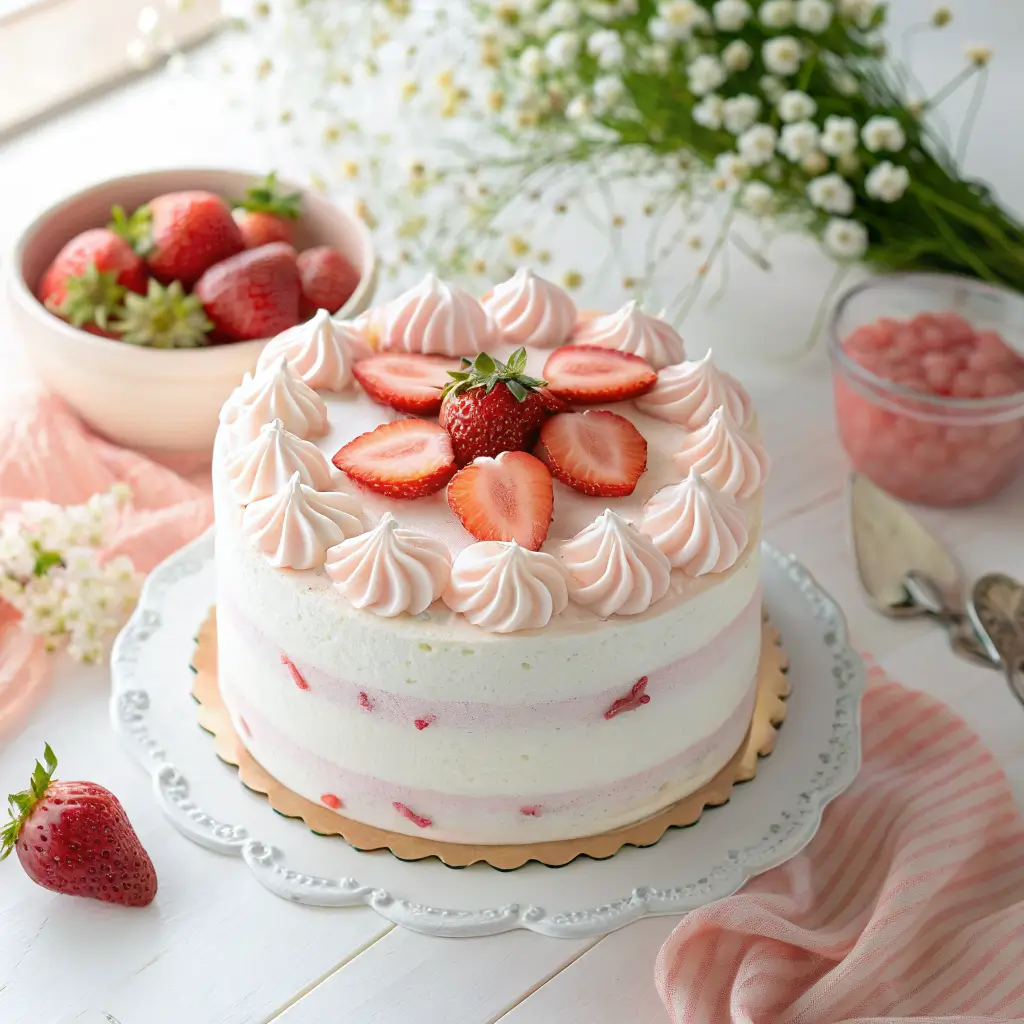
Fresh, Light, and Absolutely Gorgeous
If chocolate isn’t your thing (again, I don’t fully trust you, but I respect it), this strawberry cream cake is a beautiful alternative. It’s light, fruity, and uses real strawberries — none of that artificial flavor nonsense. This cake tastes like spring, even if it’s the dead of winter.
- Prep Time: 30 minutes
- Cook Time: 25 minutes
Ingredients
For the Cake:
- 2½ cups all-purpose flour
- 2½ tsp baking powder
- ½ tsp salt
- ¾ cup butter (softened)
- 1½ cups sugar
- 4 large eggs
- 1 cup whole milk
- 1 tsp vanilla extract
- 1 cup diced fresh strawberries
For the Whipped Cream Frosting:
- 2 cups heavy whipping cream
- ½ cup powdered sugar
- 1 tsp vanilla extract
- Fresh strawberries for decorating
Equipment
- Two 9-inch round cake pans
- Mixing bowls
- Electric mixer
- Wire rack
Instructions
- Preheat oven to 350°F. Prepare your cake pans.
- Whisk flour, baking powder, and salt.
- Cream butter and sugar until fluffy, then add eggs one at a time and vanilla.
- Alternate adding flour mixture and milk until combined.
- Gently fold in diced strawberries.
- Bake for 23–28 minutes until golden and a toothpick comes out clean.
- Cool completely.
- Whip heavy cream, powdered sugar, and vanilla to stiff peaks.
- Layer the cake with whipped cream and fresh strawberry slices between layers.
Notes
Pat your strawberries dry before folding them into the batter. Excess moisture creates gummy pockets in the cake. Also, this cake must be refrigerated because of the whipped cream frosting. It won’t hold up at room temperature for more than an hour, so plan accordingly.
Also Read: 10 Heavenly Vegan Cake Recipes for Bakery Style Magic
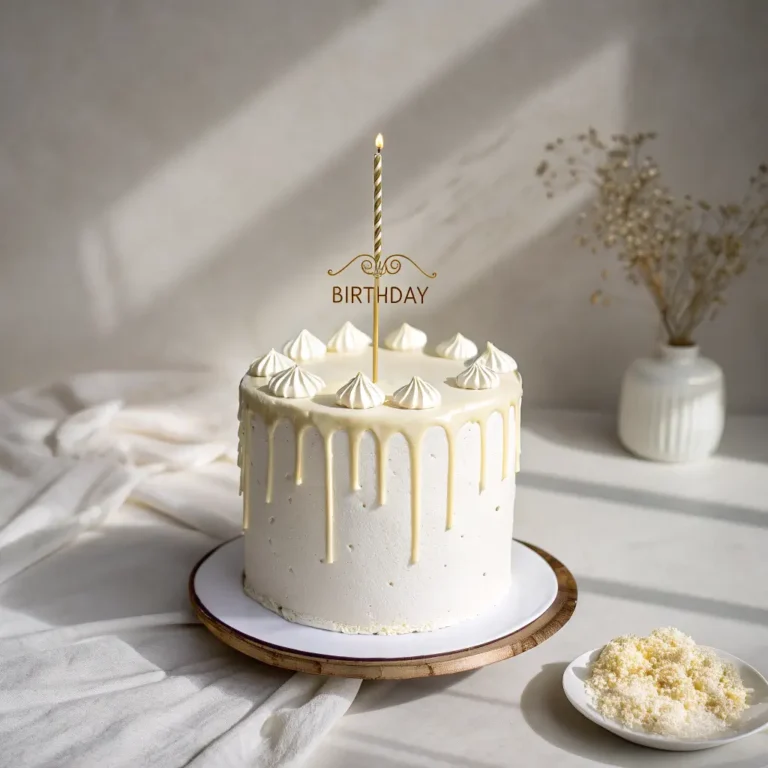
7. Minimalist White Chocolate Drip Cake

For the Aesthetic Lovers
You’ve seen these all over Instagram. Smooth buttercream, perfect white chocolate drip cascading down the sides, maybe some gold leaf on top. It looks intimidating, but I promise — the drip is way easier than it looks. The key is getting the chocolate to the right temperature.
- Prep Time: 35 minutes (plus decorating time)
- Cook Time: 30 minutes
Ingredients
For the Vanilla Cake:
- Use your favorite vanilla cake recipe or box mix — no judgment
For the Buttercream:
- 1½ cups unsalted butter (softened)
- 6 cups powdered sugar
- 3–4 tbsp heavy cream
- 2 tsp vanilla extract
For the Drip:
- 1 cup white chocolate chips
- ¼ cup heavy cream
- Gel food coloring (optional)
Equipment
- Three 6-inch round cake pans
- Turntable (highly recommended)
- Bench scraper
- Squeeze bottle or spoon for drip
- Offset spatula
Instructions
- Bake your vanilla cake layers and cool them completely.
- Make buttercream: beat butter, add powdered sugar gradually, then cream and vanilla.
- Level your cake layers. Stack with buttercream between each layer.
- Apply a thin crumb coat of frosting and chill for 20 minutes.
- Apply a thick final coat and smooth with a bench scraper and turntable.
- For the drip: heat heavy cream, pour it over white chocolate chips, stir until smooth. Let it cool slightly — it should be warm but not hot.
- Use a squeeze bottle to apply drips around the cake’s edge, then fill in the top.
- Chill to set the drips, then decorate however you like.
Notes
Temperature is everything with the drip. Too hot, and it runs all the way down the cake like a melted candle. Too cool, and it won’t drip at all. Test a drip on the back of the cake first. Aim for around 90°F — warm to the touch but not hot. Also, a turntable isn’t mandatory, but it makes smoothing buttercream about 10x easier.
8. Cartoon Theme Birthday Fondant Cake
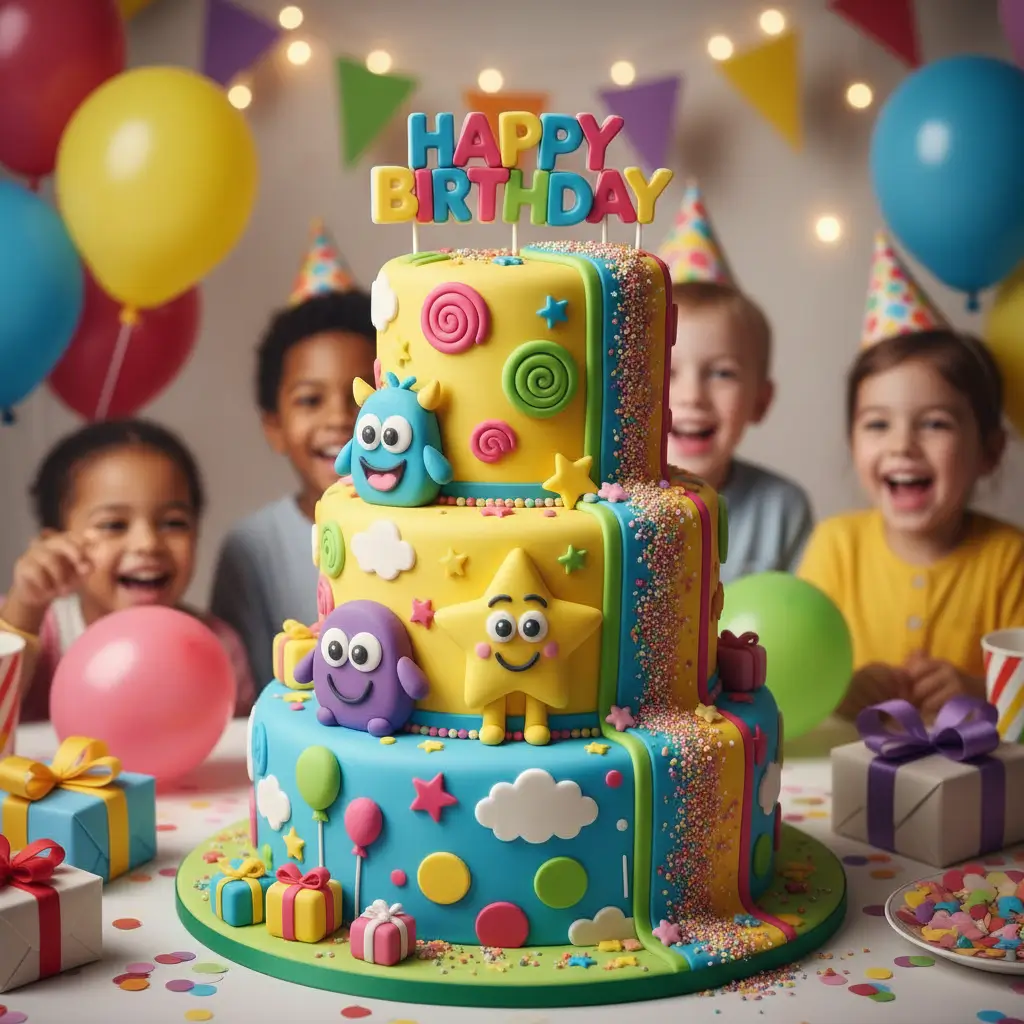
The One That Takes Commitment
Okay, let’s be real — fondant cakes are a project. They require time, patience, and a willingness to smooth fondant for what feels like 47 hours. But when you nail it? You create something truly special. This is the cake for that kid (or adult, no shame) who wants their favorite character sitting on top of their birthday cake.
- Prep Time: 1.5–2 hours (plus decorating)
- Cook Time: 35 minutes
Ingredients
For the Cake:
- 3 cups all-purpose flour
- 3 cups sugar
- 1½ cups cocoa powder
- 3 tsp baking soda
- 1½ tsp salt
- 4 eggs
- 1½ cups buttermilk
- 1½ cups hot coffee
- ¾ cup vegetable oil
- 2 tsp vanilla extract
For Decorating:
- 2 lbs fondant (white, plus colors needed)
- Buttercream for crumb coating
- Fondant tools (cutters, sculpting tools, rolling pin)
- Tylose powder (for stiffening fondant figures)
Equipment
- Two 9-inch round cake pans (or shaped pan)
- Fondant roller
- Fondant smoother
- Sculpting tools
- Food-safe paintbrushes
- Gel food coloring
Instructions
- Bake your cake layers using the chocolate recipe above. Cool completely — ideally chill them.
- Level, stack, and crumb coat with buttercream. Chill for 30 minutes.
- Knead fondant until pliable. Add tylose powder if you’re making figures — it helps them hold their shape.
- Roll fondant to about ⅛ inch thick and drape over the cake. Smooth with fondant smoothers.
- Trim excess fondant at the base.
- Sculpt your cartoon character or themed decorations using colored fondant.
- Attach decorations with a dab of water or edible glue.
Notes
Work with fondant quickly — it dries out fast. Keep unused portions wrapped in plastic wrap. Also, fondant tastes… fine. Not amazing, but fine. That’s why the buttercream underneath matters — it’s the flavor layer. If you’re serious about this style, watch a few YouTube tutorials before attempting your first figure. Practice with small shapes first.
9. Piñata Candy Filled Birthday Cake
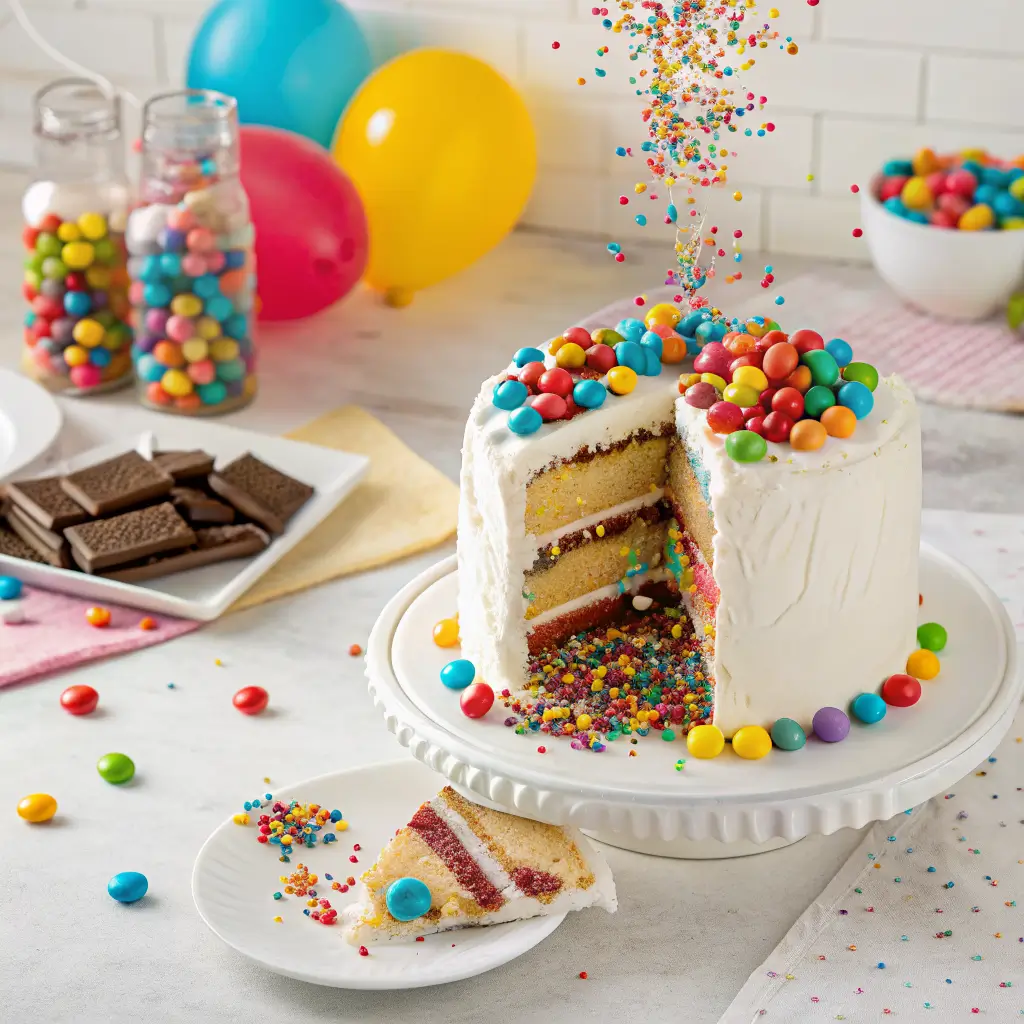
Cut It Open and Chaos Ensues
This cake is a party trick disguised as dessert. You slice into what looks like a normal cake, and candy pours out like a waterfall. Kids lose their minds over this one. Adults do too, honestly. The concept is simple: bake a ring-shaped cake, hollow out the center, fill it with candy, cover it back up, and frost the whole thing.
- Prep Time: 30 minutes
- Cook Time: 30 minutes
Ingredients
- Your favorite cake recipe (enough for a 9-inch round)
- Buttercream frosting
- 2–3 cups of small candies (M&Ms, gummy bears, Skittles, etc.)
- Sprinkles for decorating
Equipment
- Two 9-inch round cake pans
- Round cookie cutter or knife for hollowing
- Piping bags
- Offset spatula
Instructions
- Bake two 9-inch cake layers. Cool completely.
- Take one layer and cut out the center using a round cookie cutter or knife, leaving about a 1-inch border. This creates the “ring” layer.
- Place the solid layer on your cake board. Spread buttercream on top.
- Place the ring layer on top, aligning the edges.
- Fill the hollow center with candy — pack it in there.
- Place a small round piece of cake (the one you cut out) on top to seal it, trimming it to fit.
- Frost the entire cake with buttercream and decorate with sprinkles.
Notes
Don’t use heavy or large candies — they’ll crush the cake structure. Stick to small, lightweight options. Also, fill the cake right before serving if possible. Some candies (especially gummy ones) can get sticky if they sit in cake moisture for too long. And seriously, have your camera ready when the first slice gets cut. The reactions are priceless 🙂
Also Read; 10 Stunning Chocolate Cake Mix Recipes for Rich Chocolate Fix
10. Quick Mug Birthday Cake for One Person
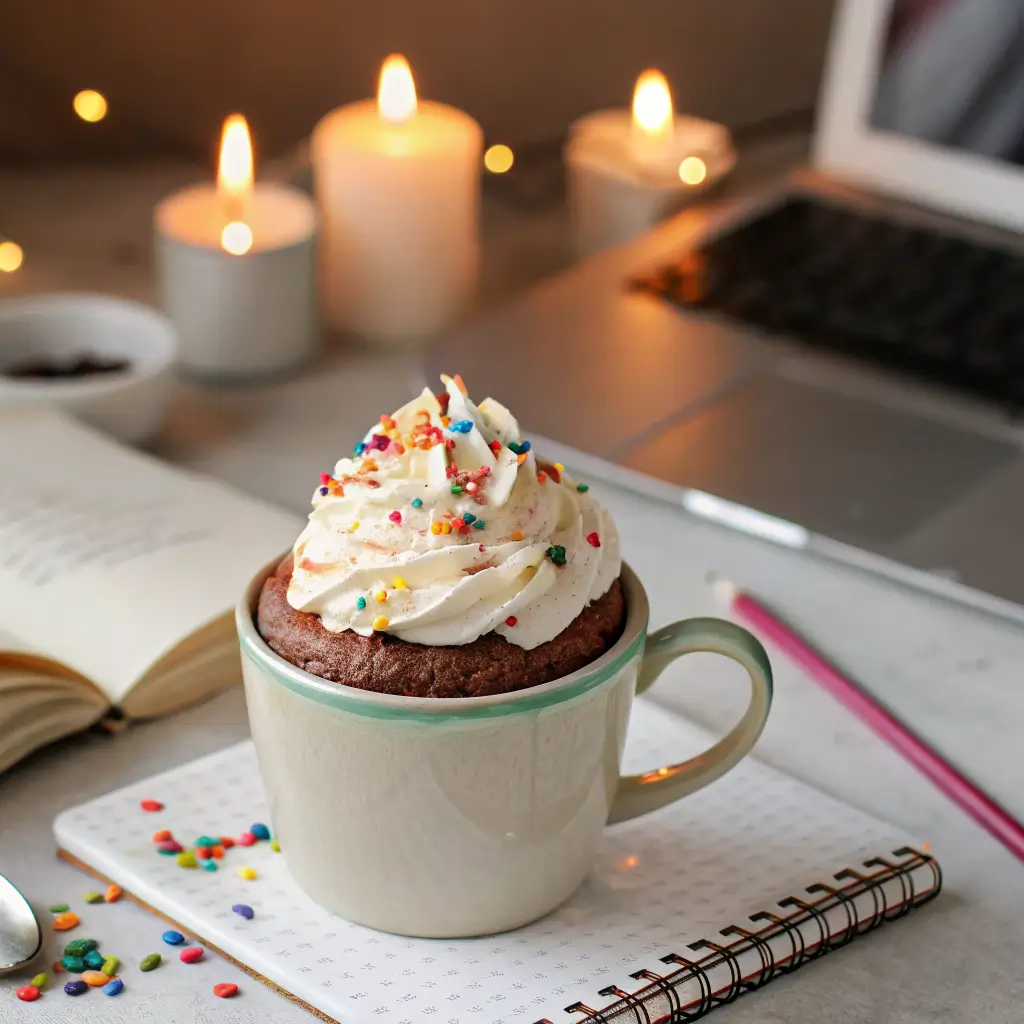
Because You Deserve a Cake Too
Not every birthday involves a party of 20. Sometimes you just want a warm cake, just for you, in five minutes. Enter the mug cake. Is it the same as a layered masterpiece from a bakery? No. Does it hit the spot when you’re celebrating solo on a Tuesday night? Absolutely.
- Prep Time: 5 minutes
- Cook Time: 1 minute 30 seconds
Ingredients
- 4 tbsp all-purpose flour
- 3 tbsp sugar
- 2 tbsp cocoa powder
- ¼ tsp baking powder
- Pinch of salt
- 3 tbsp milk
- 2 tbsp vegetable oil
- ¼ tsp vanilla extract
- 1 tbsp chocolate chips
- Whipped cream or frosting for topping
- Sprinkles (because even solo birthdays deserve sprinkles)
Equipment
- Large microwave-safe mug
- Fork or small whisk
- Microwave
Instructions
- Add flour, sugar, cocoa powder, baking powder, and salt directly into the mug. Mix with a fork.
- Add milk, oil, and vanilla. Stir until smooth — no dry pockets.
- Drop chocolate chips into the center.
- Microwave on high for 1 minute 30 seconds. The cake will rise and look like it’s going to overflow. It won’t. Probably.
- Let it cool for 1 minute, then top with whipped cream and sprinkles.
Notes
Every microwave is different, so your first attempt might be a test run. If the cake is still gooey in the center, microwave for an additional 15 seconds. If it’s rubbery, you overcooked it — try 1:15 next time. Also, don’t use a small mug. Use the biggest mug you own. Trust me on this one. The batter rises significantly, and cleaning exploded cake out of a microwave isn’t how anyone wants to spend their birthday.
Wrapping It Up: Which Cake Should You Make?
Here’s the thing — there’s no wrong answer here. Want something easy that still impresses? The Oreo icebox cake or the chocolate layer cake are your best friends. Feeling ambitious and ready to flex your creative muscles? Go for the fondant cake or the rainbow surprise. Celebrating alone and just want something warm and comforting? The mug cake has your back.
The best birthday cake isn’t the fanciest or the most Instagram-worthy — it’s the one made with love (and maybe a little bit of butter). Every single recipe on this list can be adapted, modified, and made your own. Swap flavors, change the frosting, add your favorite candy, throw in some espresso — make it yours.
So, what are you waiting for? Pick a recipe, clear your counter, and get baking. Your next birthday celebration (or honestly, just your next Tuesday) is about to get a whole lot sweeter. Happy baking! 🎂