Ever stare into your pantry at 9 PM, hit with a dessert craving so strong it could power a small city? Yeah, me too.
That’s exactly why I’ve become a bit of a ninja in the kitchen, specializing in desserts that deliver maximum flavor with minimum fuss.
I’m talking easy dessert recipes that don’t require a culinary degree, a mountain of dishes, or a time commitment longer than your average sitcom episode.
Forget complicated techniques and endless ingredient lists. These recipes are your new best friends for last-minute gatherings, personal treat-yourself moments, or when you just need to prove to yourself that yes, you can make something incredible from scratch.
So, grab your favorite mixing bowl (the one that’s probably already in the sink, let’s be real), and let’s get into some seriously simple, ridiculously tasty sweets.
1. No-Bake Chocolate Biscuit Dessert Cups

Imagine all the joy of a decadent chocolate dessert with exactly zero oven time. That’s the magic of these cups. They’re crunchy, creamy, and look way more impressive than the effort you put in. I first threw these together for a potluck when I was criminally short on time, and they vanished in minutes. True story.
Prep time: 15 minutes
Cook time: 0 minutes (No-bake for the win!)
Chill time: 1 hour (hands-off, I promise)
Ingredients:
- 200g chocolate digestives or graham crackers
- 60g unsalted butter, melted
- 2 tbsp cocoa powder
- 300ml heavy cream
- 200g mascarpone cheese
- 3 tbsp powdered sugar
- 1 tsp vanilla extract
- Chocolate shavings or extra cocoa for topping
Equipment:
- Food processor or zip-lock bag and rolling pin
- Mixing bowls
- Electric hand mixer or stand mixer
- 6-8 small serving cups or jars
Instructions:
- Crush the biscuits into fine crumbs using your food processor or that satisfying rolling pin method.
- Mix the crumbs with the melted butter and cocoa powder until it resembles wet sand.
- Spoon the mixture evenly into your cups, pressing down gently to form a base layer.
- In a large bowl, whip the heavy cream, mascarpone, powdered sugar, and vanilla until stiff peaks form.
- Dollop or pipe this glorious cream over the biscuit bases.
- Chill for at least an hour. Top with chocolate shavings before serving.
Notes: FYI, you can swap the mascarpone for full-fat cream cheese if that’s what you have. It’ll be slightly tangier but still amazing. These hold up beautifully in the fridge for a day, making them perfect for prepping ahead.
2. 5-Minute Oreo Cream Parfait
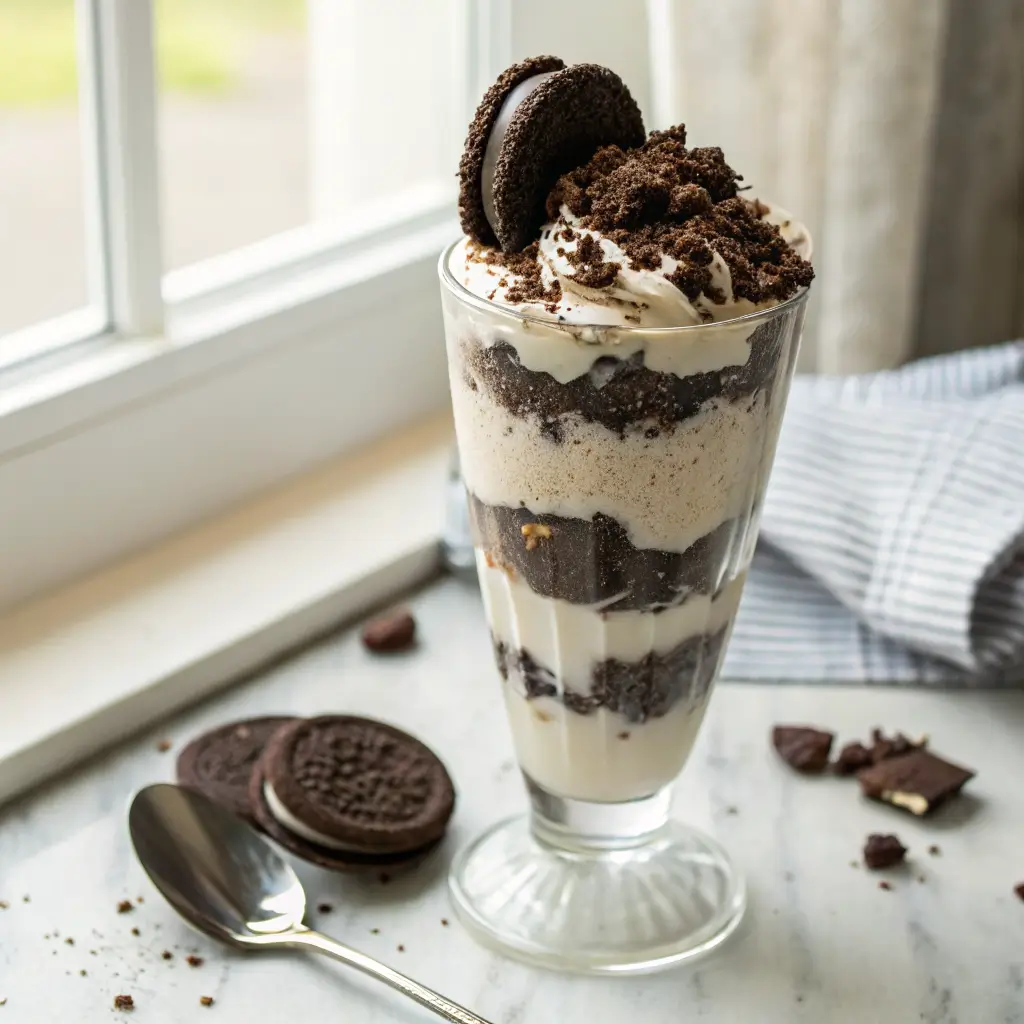
This one is almost embarrassingly easy. It’s the dessert equivalent of throwing on your favorite sweatpants—instant comfort. Layers of crushed Oreos and sweet, fluffy cream come together in minutes. It’s my go-to when I need a chocolate fix, like, yesterday.
Prep time: 5 minutes
Cook time: 0 minutes
Ingredients:
- 12 Oreo cookies, plus extra for topping
- 1 cup heavy cream
- 1/2 cup powdered sugar
- 1 tsp vanilla extract
- 1/2 cup milk (any kind)
Equipment:
- Zip-lock bag
- Mixing bowl
- Electric whisk
- Two glasses or small bowls
Instructions:
- Roughly crush the Oreos in the bag—keep some chunks for texture!
- Whip the cream, powdered sugar, and vanilla until it’s thick and cloud-like.
- Briefly dip each remaining Oreo in milk (just a quick dunk!) and layer in the glass.
- Add a layer of whipped cream, then a sprinkle of crushed Oreo. Repeat.
- Top with more whipped cream and a final cookie crumble. Devour immediately.
Notes: IMO, letting it sit for 10 minutes before eating lets the cookies soften into a cake-like layer, which is divine. For a grown-up twist, add a splash of coffee liqueur to the milk.
3. Easy Strawberry Yogurt Dessert Jars
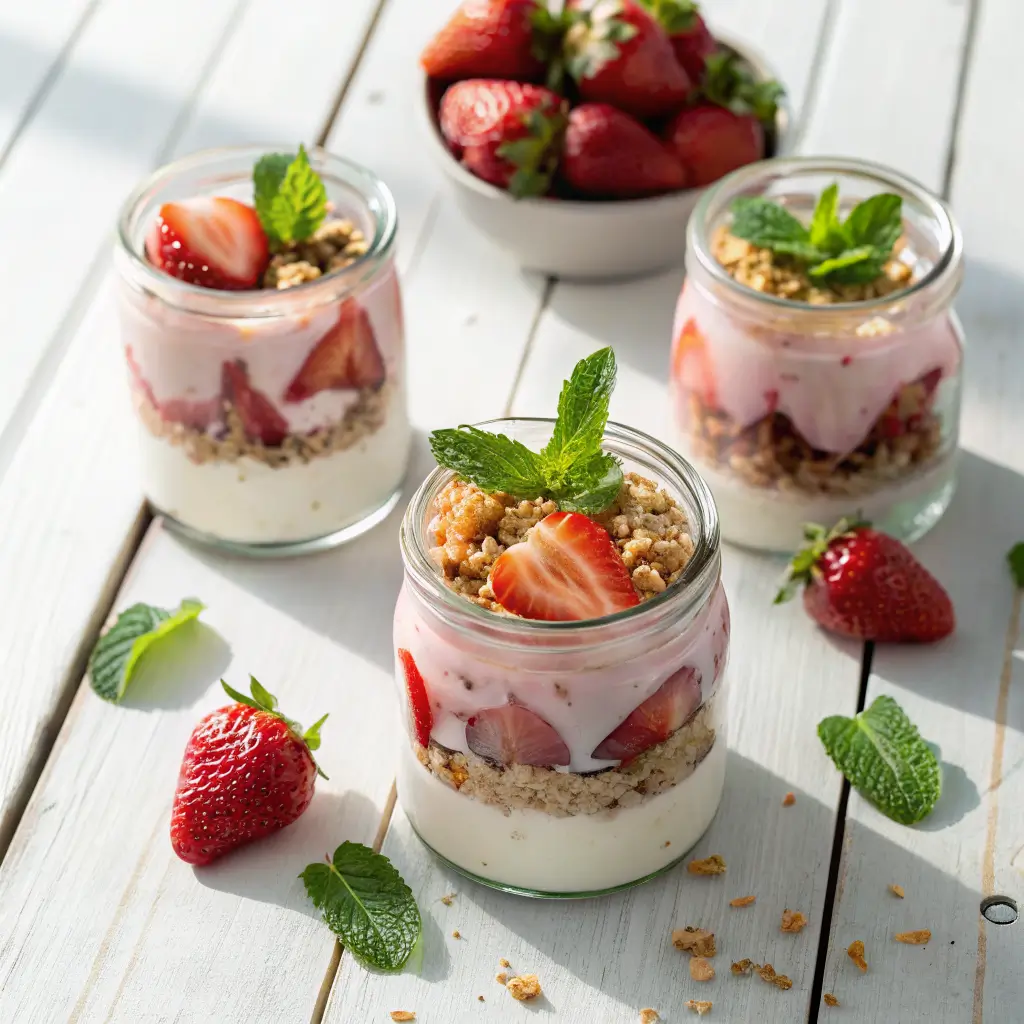
Fresh, creamy, and just sweet enough, these jars are like sunshine in dessert form. They’re perfect for when you want something that feels a little virtuous but still totally satisfies a sweet tooth. I make these constantly during strawberry season.
Prep time: 10 minutes
Cook time: 0 minutes
Ingredients:
- 1 cup fresh strawberries, diced
- 1 tbsp honey or maple syrup
- 2 cups thick Greek yogurt
- 1/2 tsp vanilla extract
- 1/2 cup granola or crushed shortbread cookies
Equipment:
- Small bowl
- Mixing spoon
- 2-3 jars or glasses
Instructions:
- Gently mix the diced strawberries with the honey in a small bowl. Let them sit for 5 minutes to get juicy.
- Stir the vanilla into the Greek yogurt.
- In your jars, create layers: start with yogurt, then add a layer of macerated strawberries and their juices.
- Sprinkle a layer of granola or cookie crumbs.
- Repeat the layers, finishing with a pretty strawberry on top.
Notes: The granola will soften over time, so add it right before serving if you want maximum crunch. Full-fat Greek yogurt gives the best creamy texture here.
Also Read: 10 Irresistible Dessert Recipes Sweet Heaven Ideas
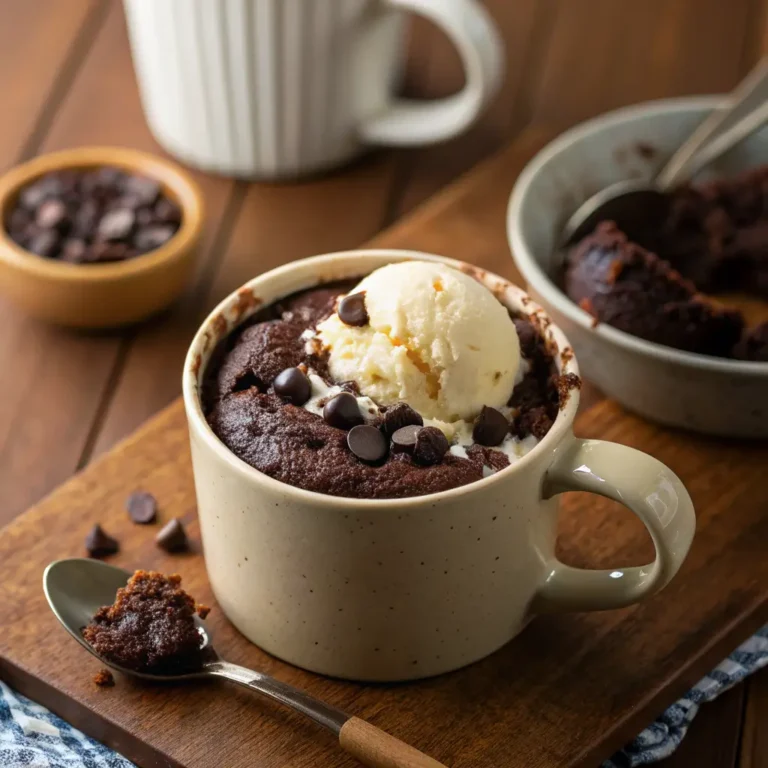
4. Microwave Mug Brownie Dessert

The ultimate single-serving hero. When you need a warm, fudgy brownie and you need it now, the microwave is your best friend. I’ve tested this dozens of times to get the texture just right—not rubbery, not dry, just pure chocolatey bliss in 90 seconds flat.
Prep time: 3 minutes
Cook time: 1-2 minutes
Ingredients:
- 3 tbsp all-purpose flour
- 3 tbsp granulated sugar
- 2 tbsp unsweetened cocoa powder
- A pinch of salt
- 2 tbsp milk
- 2 tbsp vegetable oil or melted butter
- 1 tbsp chocolate chips (optional but highly recommended)
Equipment:
- Microwave-safe mug
- Fork or small whisk
Instructions:
- Dump the flour, sugar, cocoa, and salt into the mug. Mix thoroughly with the fork.
- Add the milk and oil. Stir until the batter is completely smooth with no dry pockets.
- Drop the chocolate chips into the center.
- Microwave on high for 60-90 seconds. The top should look set but might be slightly glossy—that’s perfect.
- Let it cool for a minute. It’s lava-hot, so patience is key! :/
Notes: Every microwave is different. Start with 60 seconds and add time in 10-second bursts. The brownie continues to cook as it sits, so err on the side of under-done. Top with ice cream or a spoonful of peanut butter for a next-level experience.
5. Banana Caramel Icebox Dessert Slice
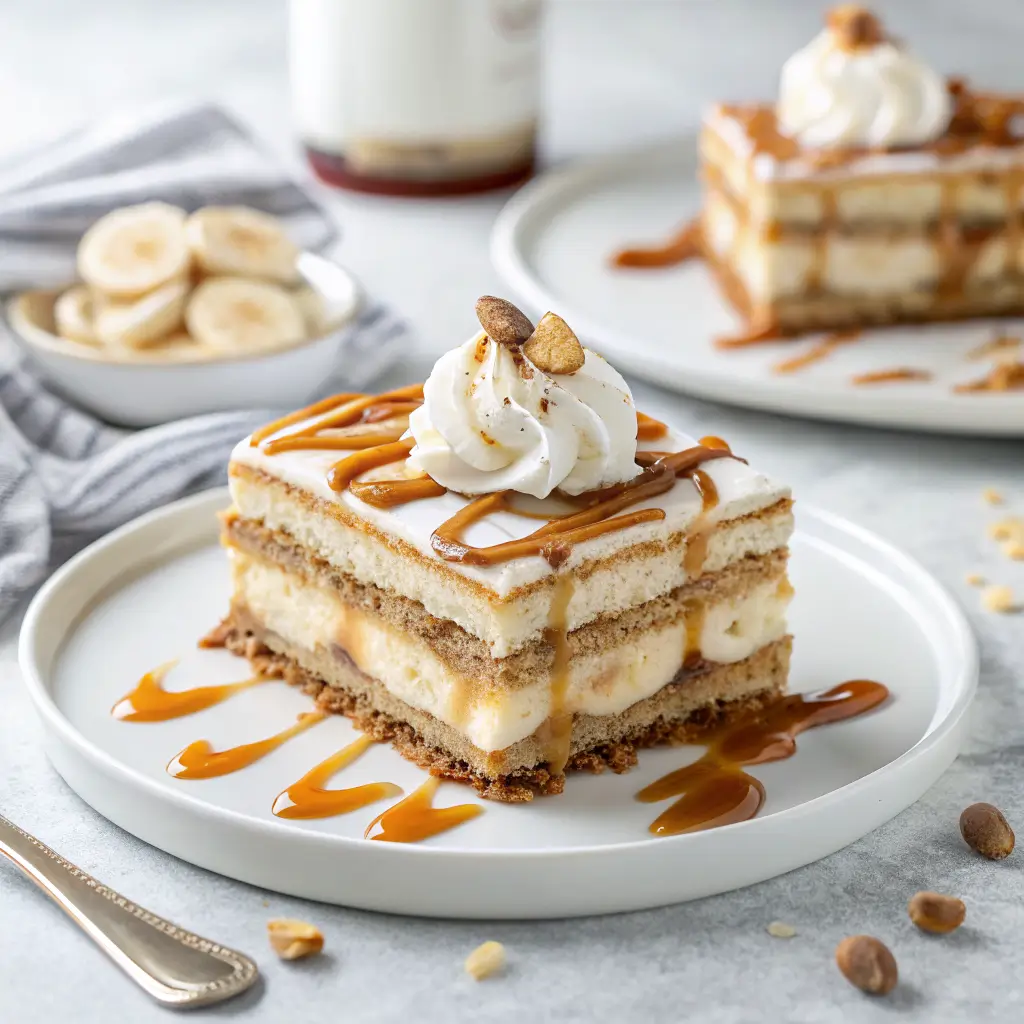
This is a retro classic for a reason. Layers of caramelized bananas, vanilla wafers, and whipped cream meld together into something magical after a night in the fridge. It’s cool, creamy, and tastes like a hug from grandma. I always make this for family birthdays—it’s a guaranteed crowd-pleaser.
Prep time: 20 minutes
Cook time: 0 minutes
Chill time: 6 hours or overnight (the hardest part!)
Ingredients:
- 3-4 ripe bananas, sliced
- 1/2 cup store-bought or homemade caramel sauce
- 2 cups heavy cream
- 1/4 cup powdered sugar
- 1 tsp vanilla extract
- 1 box (approx. 11oz/300g) vanilla wafer cookies
Equipment:
- 8×8 inch baking dish
- Mixing bowls
- Electric mixer
- Spatula
Instructions:
- In a bowl, gently toss the sliced bananas with about 1/3 cup of the caramel sauce.
- Whip the cream with powdered sugar and vanilla until stiff.
- Spread a thin layer of whipped cream on the bottom of your dish.
- Create a single layer of vanilla wafers.
- Top with half the banana-caramel mixture, then half the remaining whipped cream.
- Repeat the layers: wafers, bananas, cream.
- Drizzle the remaining caramel sauce over the top.
- Cover and refrigerate for at least 6 hours, preferably overnight.
Notes: The wait is non-negotiable. It allows the cookies to soften into cake-like layers. For a firmer slice, freeze for 2 hours before serving. A sprinkle of sea salt on the caramel takes it to another level.
6. 3-Ingredient Peanut Butter Cookie Bites

Gluten-free, naturally sweet, and ready in a flash? Yes, please. These little bites are chewy, packed with peanut butter flavor, and solve the “I need cookies NOW” crisis like nothing else. My kids think I’m a wizard when I make these.
Prep time: 5 minutes
Cook time: 10-12 minutes
Ingredients:
- 1 cup smooth peanut butter
- 1/2 cup granulated sugar
- 1 large egg
Equipment:
- Mixing bowl
- Fork
- Baking sheet
- Parchment paper
Instructions:
- Preheat your oven to 350°F (175°C). Line a baking sheet with parchment.
- Mix all three ingredients in a bowl until a smooth, uniform dough forms.
- Roll into 1-inch balls and place on the sheet.
- Use a fork to gently press a criss-cross pattern on each ball.
- Bake for 10-12 minutes, until the edges are just set. They’ll look soft.
- Let cool completely on the baking sheet—they firm up as they cool.
Notes: Use conventional, not natural, peanut butter for the best texture. The dough can be sticky, so lightly wet your hands before rolling. They’re fantastic frozen, straight from the freezer.
Also Read: 10 Heavenly Oreo Cookie Recipes Creamy Dessert Bliss
7. Quick Chocolate Eclair Layer Dessert
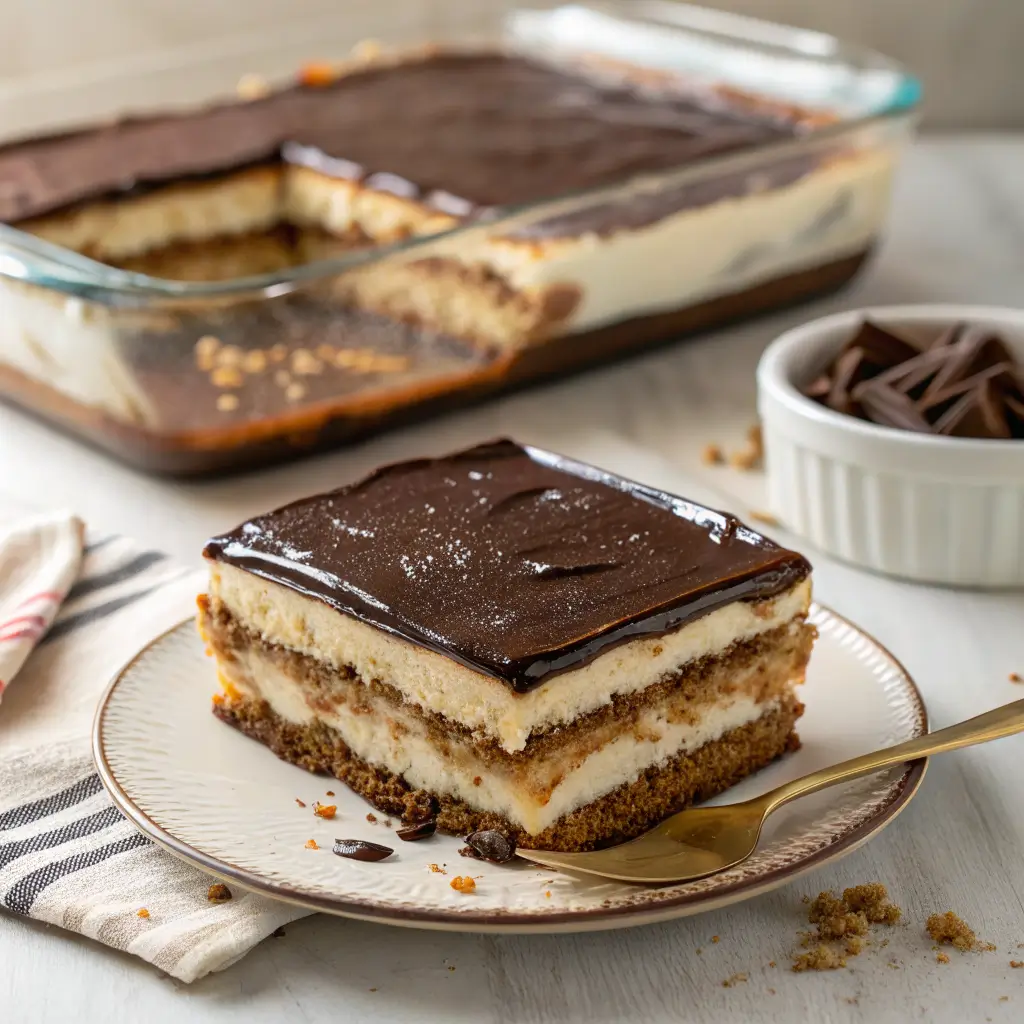
All the flavor of a fancy French eclair, without the pastry stress. This no-bake dessert uses graham crackers to mimic the pastry layers, and the filling is a simple, luscious pudding. It slices beautifully and always gets “oohs” and “aahs.”
Prep time: 15 minutes
Cook time: 5 minutes (for stovetop pudding)
Chill time: 4 hours
Ingredients:
- 1 box (3.4 oz) instant vanilla pudding mix
- 1 1/2 cups cold milk
- 1 cup heavy cream, whipped, or 1 tub (8 oz) Cool Whip
- 1 sleeve graham crackers
- 1/2 cup chocolate frosting or ganache
Equipment:
- 9×9 inch baking dish
- Mixing bowls
- Whisk
Instructions:
- Whisk the pudding mix and cold milk for 2 minutes until thick. Let sit for 5 minutes.
- Gently fold in the whipped cream or Cool Whip.
- In your dish, create a layer of graham crackers, breaking them to fit.
- Spread half the pudding mixture over the crackers.
- Add another layer of crackers, then the remaining pudding.
- Finish with a final layer of crackers.
- Warm the chocolate frosting for 10 seconds in the microwave to make it spreadable. Gently frost the top layer.
- Refrigerate for at least 4 hours, preferably overnight.
Notes: The crackers need time to soften and transform. You can make a simple ganache by microwaving 1/2 cup chocolate chips with 2 tbsp heavy cream and stirring until smooth.
8. Vanilla Wafer Cream Pudding Cups
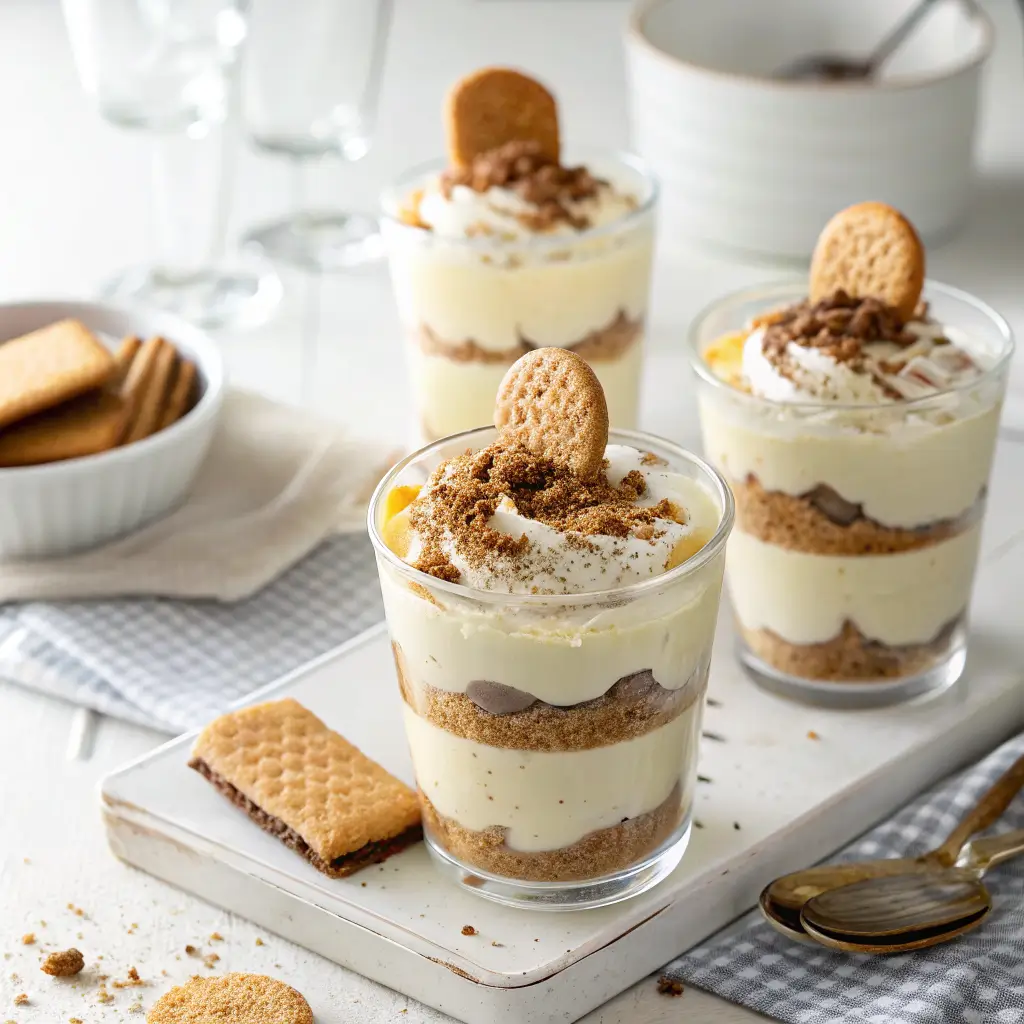
Think of this as the sophisticated, pudding-cup version of banana pudding. It’s smooth, vanilla-forward, and has that delightful textural contrast from the wafers. It’s pure, simple comfort in a cup.
Prep time: 10 minutes
Cook time: 10 minutes (for homemade pudding)
Chill time: 2 hours
Ingredients:
- 1/2 cup granulated sugar
- 3 tbsp cornstarch
- 1/4 tsp salt
- 2 cups whole milk
- 2 large egg yolks
- 2 tbsp unsalted butter
- 1 tsp vanilla extract
- 1 cup heavy cream, whipped
- 2 cups vanilla wafer cookies
Equipment:
- Medium saucepan
- Whisk
- Serving cups or bowls
Instructions:
- In the saucepan, whisk sugar, cornstarch, and salt.
- Gradually whisk in the milk until smooth.
- Cook over medium heat, whisking constantly, until it bubbles and thickens (about 5-8 minutes).
- Temper the egg yolks by slowly whisking in about 1/2 cup of the hot mixture, then pour it all back into the pan.
- Cook for 2 more minutes, whisking. Remove from heat.
- Stir in butter and vanilla. Press plastic wrap directly on the surface and chill for 1 hour.
- Fold the whipped cream into the chilled pudding.
- In cups, layer pudding and crushed wafers. Top with a wafer.
Notes: Tempering the eggs is crucial to avoid scrambled eggs in your pudding! Pressing the wrap prevents a skin from forming. This pudding base is a fantastic canvas for other flavors—try adding a little cocoa powder or espresso powder.
9. Lazy Lemon Cream No-Bake Bars
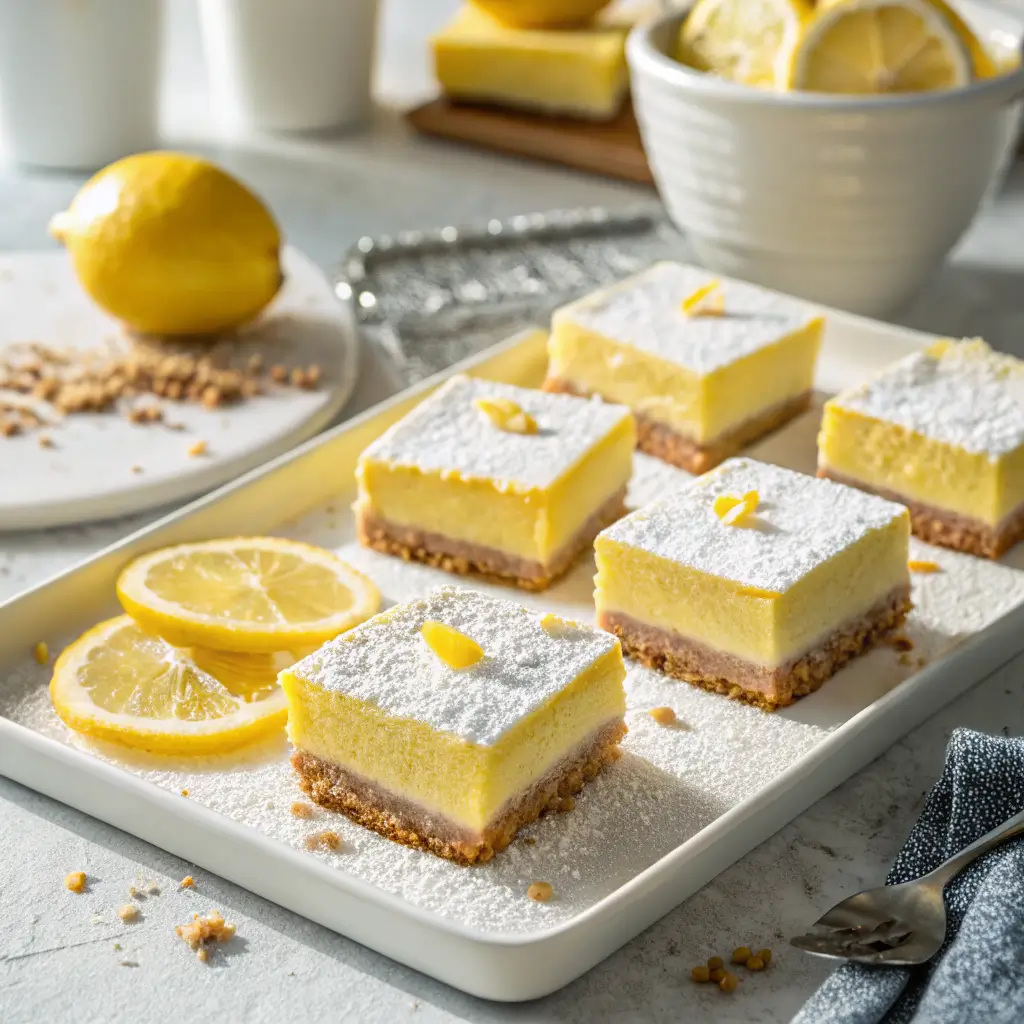
Bright, tangy, and impossibly creamy, these bars are a citrus lover’s dream. The graham cracker crust takes 30 seconds to mix, and the filling is just stirring things in a bowl. It’s the perfect, refreshing end to a heavy meal.
Prep time: 15 minutes
Cook time: 0 minutes
Chill time: 4 hours
Ingredients:
- 1 1/2 cups graham cracker crumbs
- 6 tbsp melted butter
- 2 cans (14 oz each) sweetened condensed milk
- 1 cup fresh lemon juice (about 4-5 lemons)
- 2 tsp lemon zest
- 1 cup heavy cream, whipped
Equipment:
- 8×8 inch baking pan
- Mixing bowls
- Whisk
- Spatula
Instructions:
- Mix crumbs and melted butter. Press firmly into the bottom of your pan.
- In a large bowl, whisk together the condensed milk, lemon juice, and zest until it starts to thicken.
- Gently fold in the whipped cream.
- Pour over the crust and smooth the top.
- Chill for at least 4 hours until firm.
Notes: Fresh lemon juice is non-negotiable—the bottled stuff won’t set the filling properly. For a pop of color, top with fresh berries before serving. Let it sit out for 10 minutes before slicing for cleaner cuts.
Also Read: 10 Easy Cookie Recipes Homemade Comfort Bites
10. Simple Chocolate Chip Cookie Dough Truffles

Eating cookie dough without the raw egg anxiety? Sign me up. These truffles are safe, addictive, and dangerously easy to pop into your mouth one after another. They’re my secret weapon for holiday gifting, and people always ask for the recipe.
Prep time: 20 minutes
Cook time: 0 minutes
Chill time: 1 hour
Ingredients:
- 1/2 cup unsalted butter, softened
- 3/4 cup packed brown sugar
- 1 tsp vanilla extract
- 2 tbsp milk
- 1 cup all-purpose flour, heat-treated*
- 1/2 tsp salt
- 1/2 cup mini chocolate chips
- 1 cup melting chocolate (for coating)
Equipment:
- Mixing bowl
- Electric mixer
- Baking sheet
- Parchment paper
- Two forks or a dipping tool
Instructions:
- *To heat-treat flour: Spread on a baking sheet and bake at 350°F (175°C) for 5 minutes. Cool completely.
- Cream the butter and brown sugar until fluffy. Beat in vanilla and milk.
- Mix in the heat-treated flour and salt until just combined. Stir in the chocolate chips.
- Roll into 1-inch balls and place on a parchment-lined sheet. Freeze for 30 minutes.
- Melt the coating chocolate according to package directions.
- Dip each frozen ball into the chocolate, letting excess drip off. Return to the sheet.
- Chill until set.
Notes: Heat-treating the flour makes it safe to eat. You can use almond flour for a gluten-free version. Keep these stored in the fridge. They also freeze perfectly for up to a month.
Conclusion
There you have it—ten proven, no-fuss desserts to solve any sweet crisis. The biggest secret? Just start. Pick the one that made your mouth water the most and go for it. What’s the worst that can happen? You eat a slightly imperfect but still delicious dessert? I call that a win. Now get in that kitchen and treat yourself! You’ve earned it. 🙂